
The complete guide
How to Choose and Fit a Drain Hose Extension
The problem nobody mentions until the machine is already in the room
Appliance makers ship the shortest drain hose they can. It saves them a few cents per unit and it works fine in a showroom, where the waste pipe is conveniently placed. Then the machine arrives at your house. The standpipe is on the opposite wall, or the dishwasher has to sit two cupboards further along than the old one, or the laundry is being rearranged and the washer now lives where the dryer used to.
At that point you have three options. Move the plumbing, which means a plumber and a bill. Move the machine back to where the hose reaches, which usually means living with a layout you did not want. Or extend the hose, which takes about ten minutes and costs less than a takeaway.
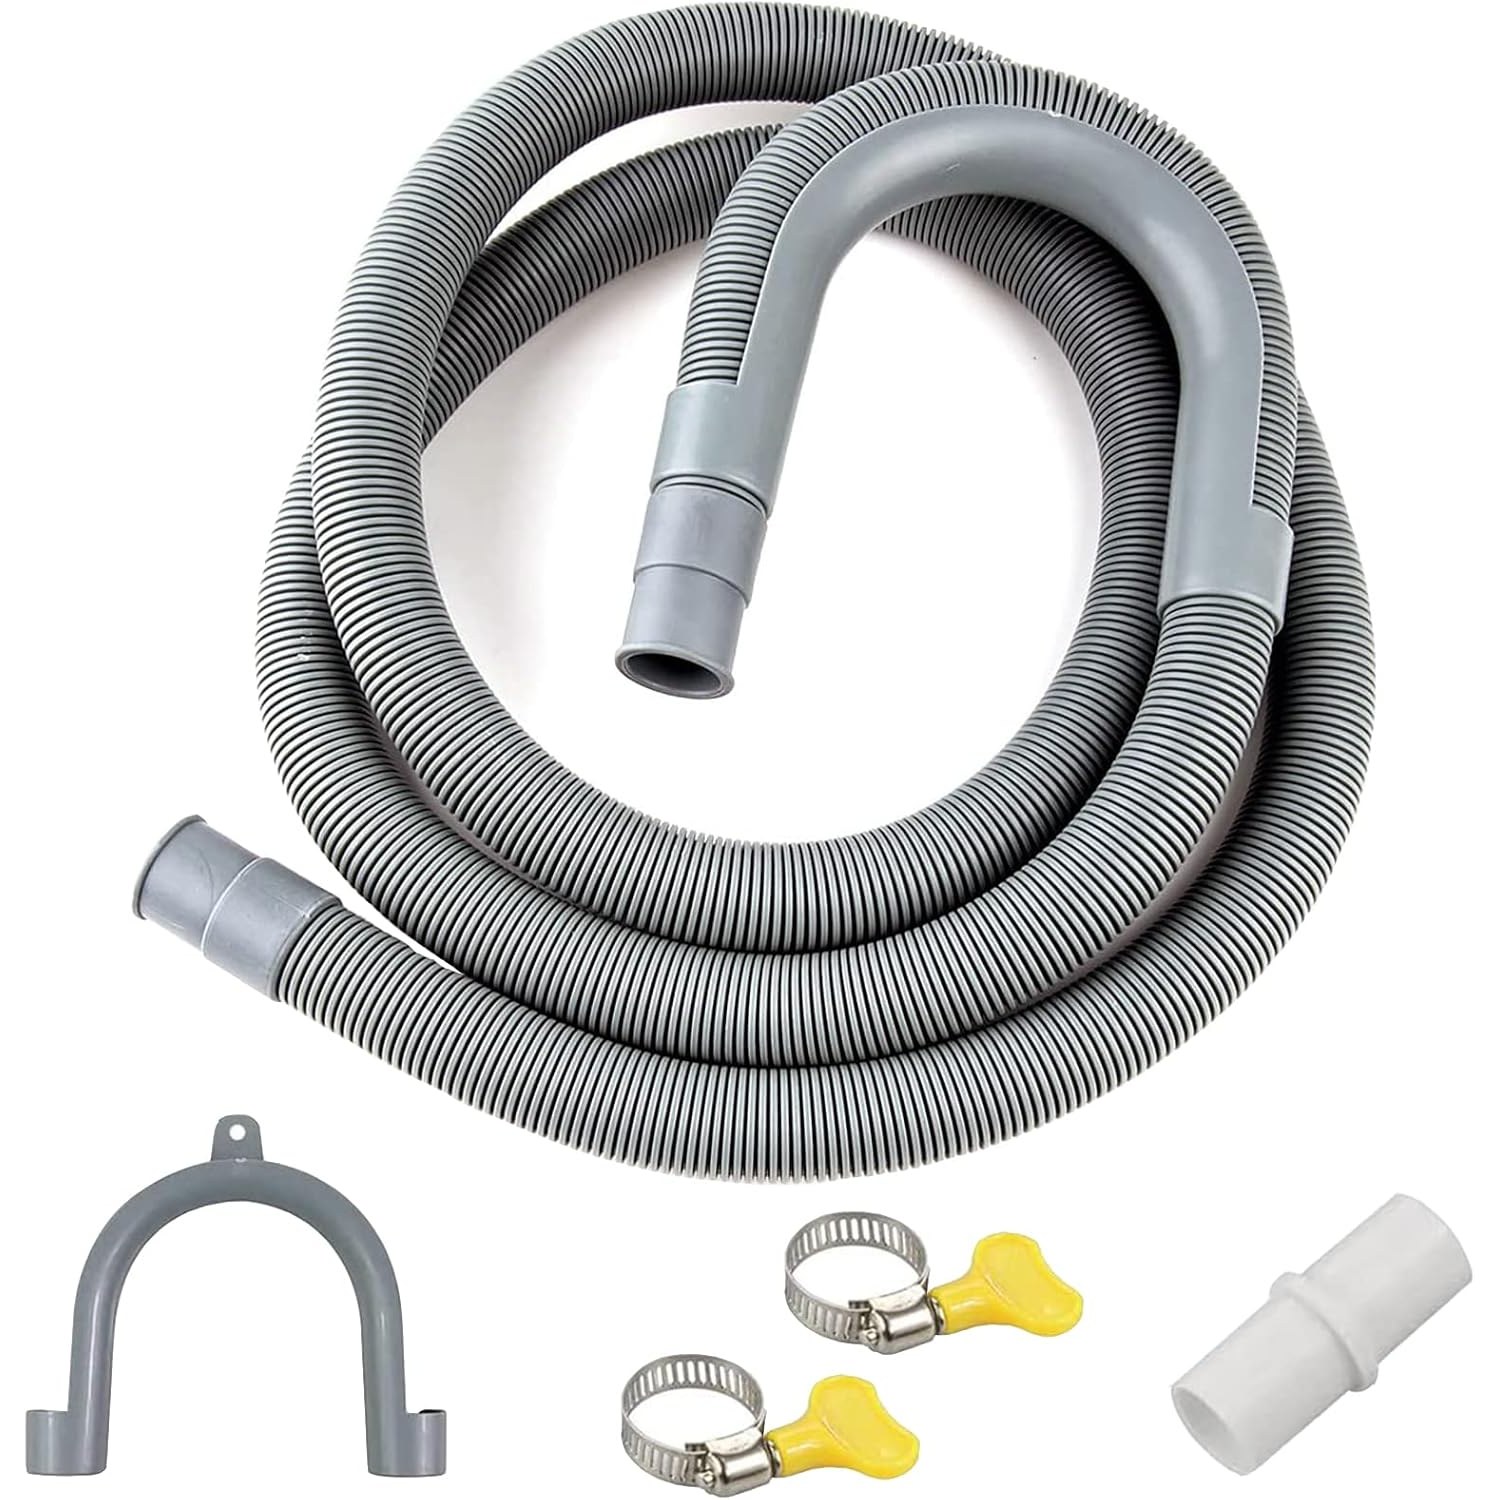
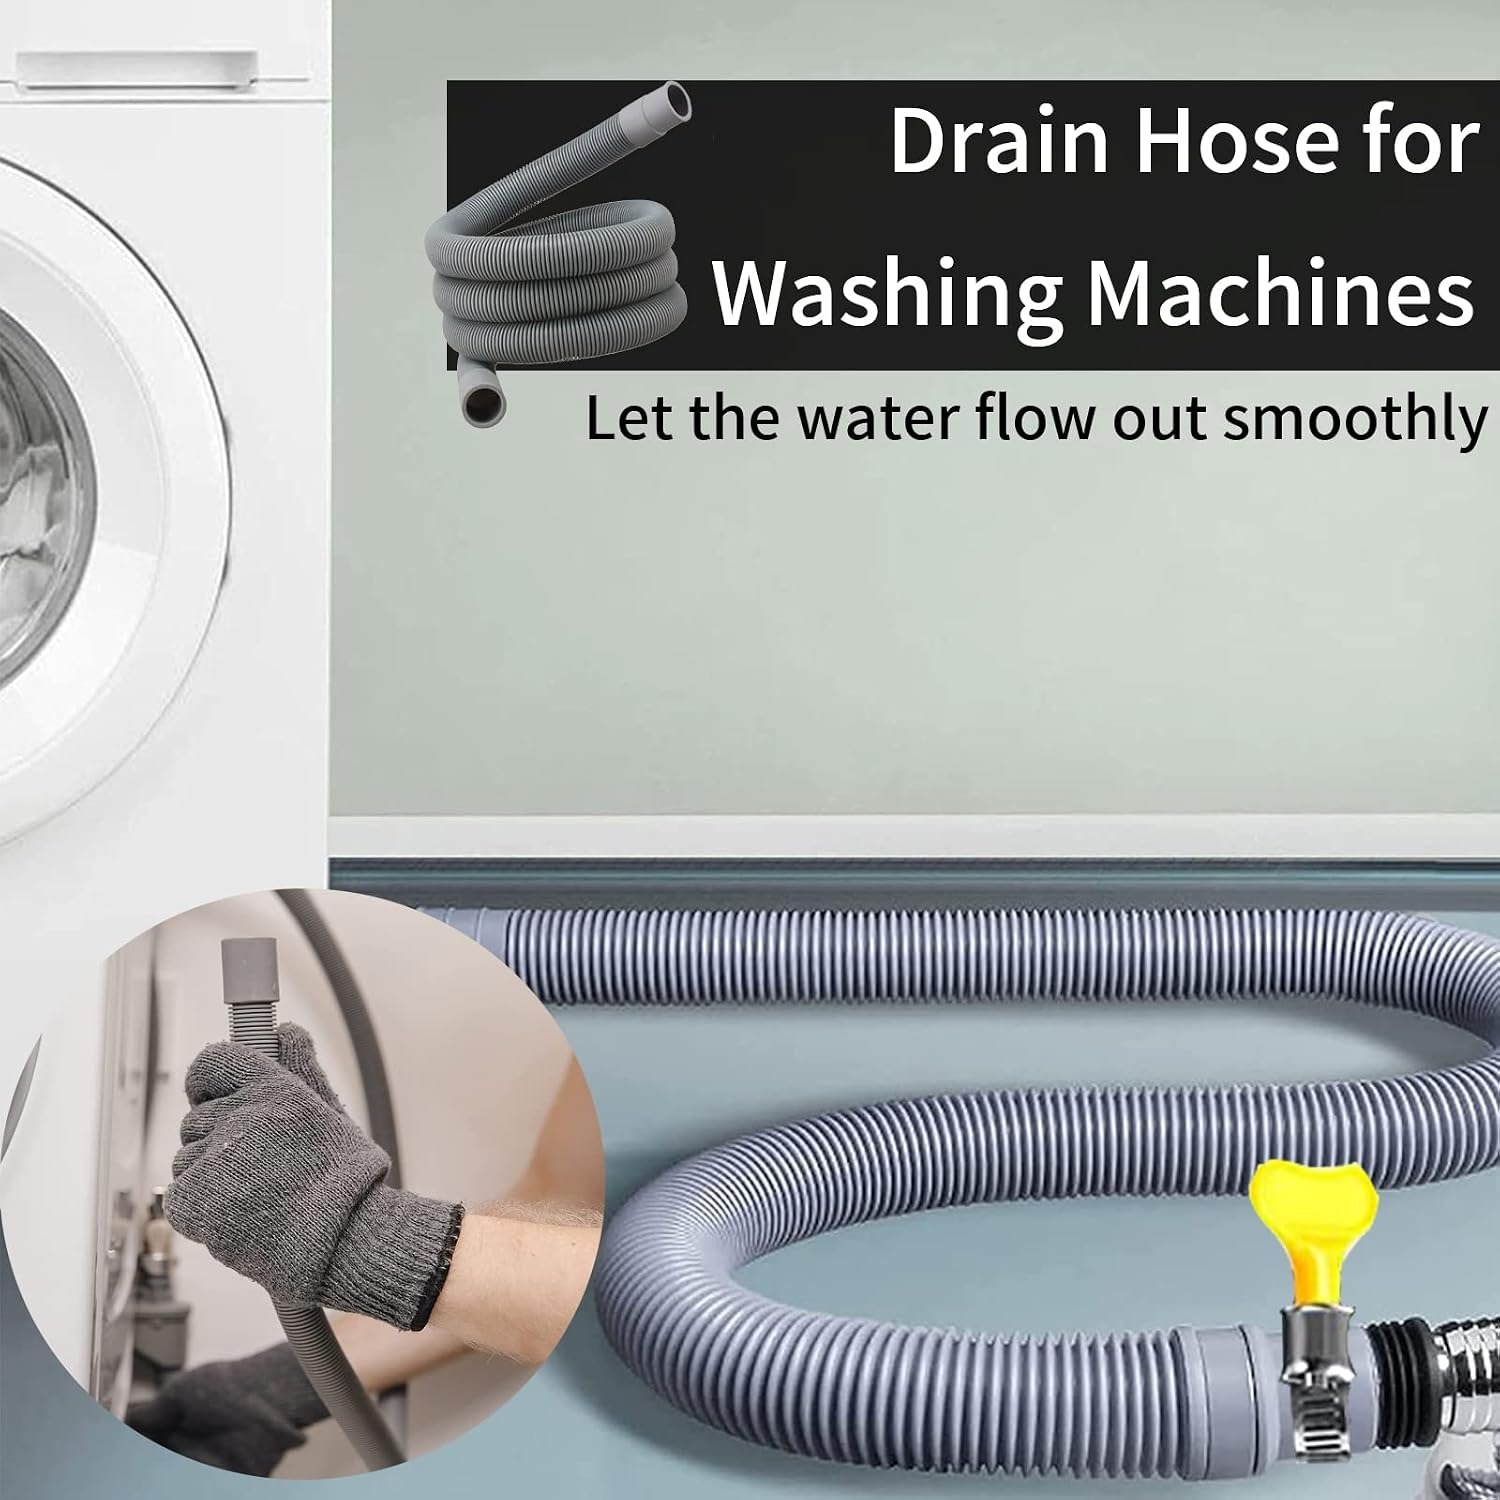
That third option is what this kit is for. A 1.5 metre corrugated hose, an adapter to join it to the line already on your machine, two stainless steel clamps to lock the joint, and a U-bend holder to park the open end over the drain.
How a drain hose extension actually works
An appliance drain line is not pressurised plumbing. The machine's pump pushes waste water out in bursts, and gravity and the pump together carry it to the waste point. That matters, because it means the joint in the middle of your extended hose does not have to hold back mains pressure. It just has to be sealed enough that pumped water goes through rather than out.
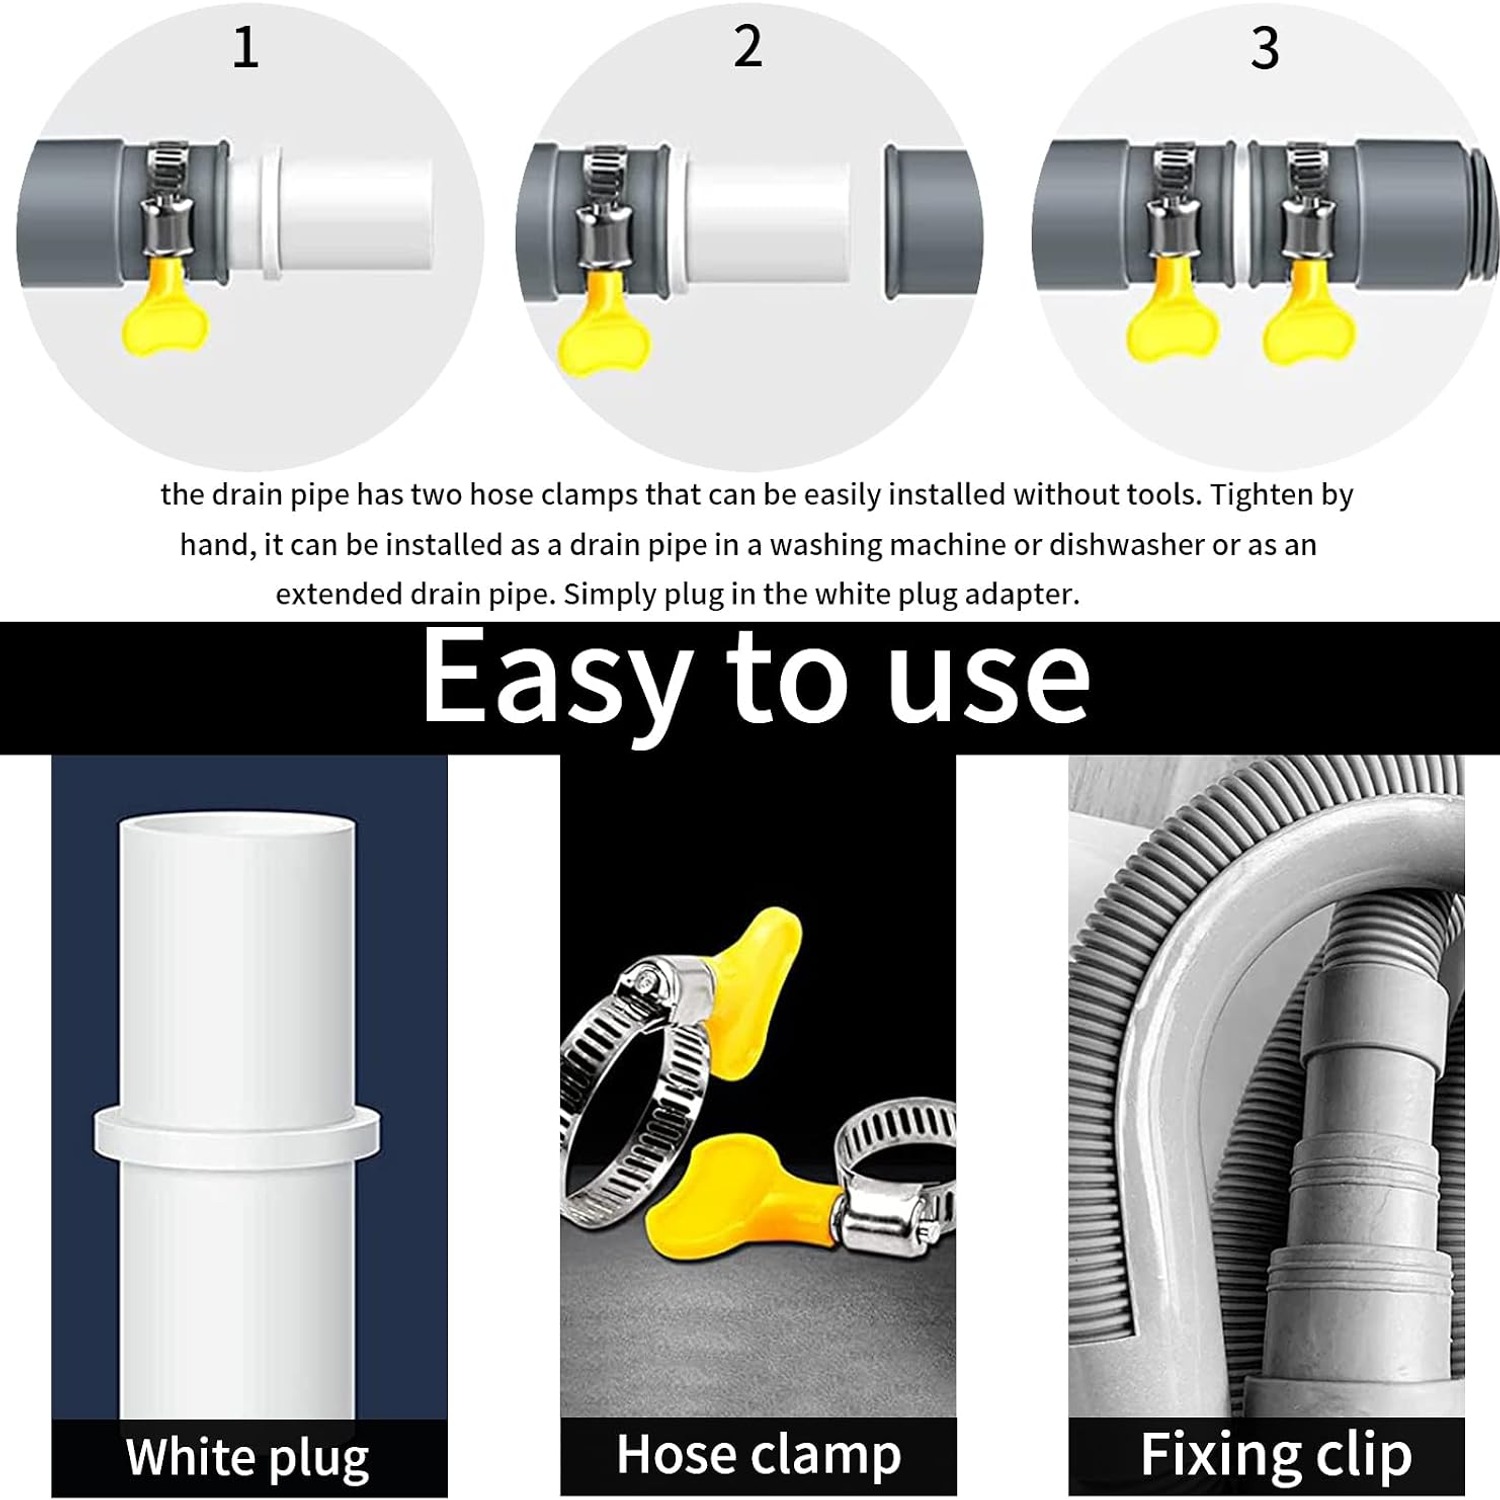
The adapter in this kit is a short rigid sleeve. One end pushes into your existing hose, the other end pushes into the new 150cm length. The two stainless clamps sit over the outside of each hose, directly above where the adapter sits inside, and squeeze the flexible wall down onto the rigid sleeve. Tighten them evenly and that joint stays dry.
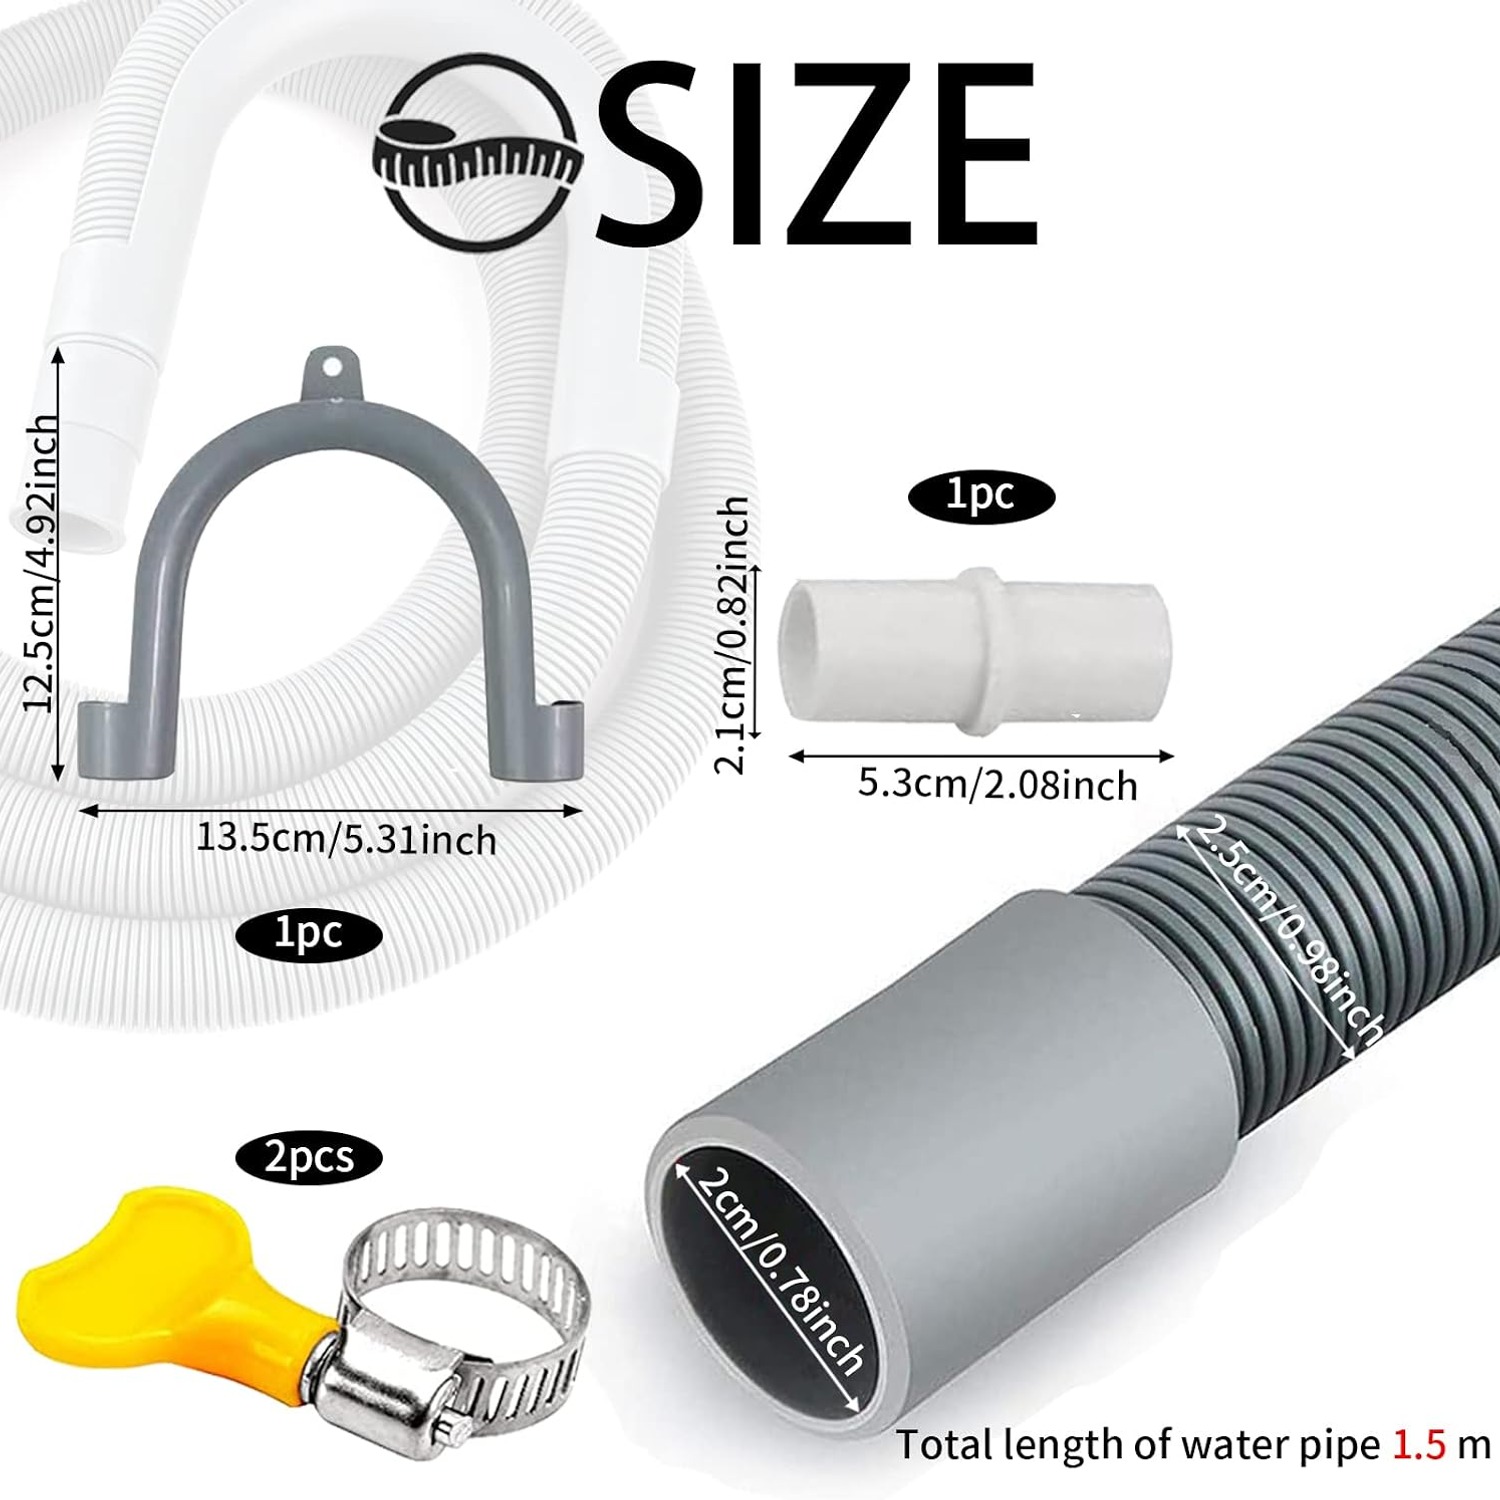
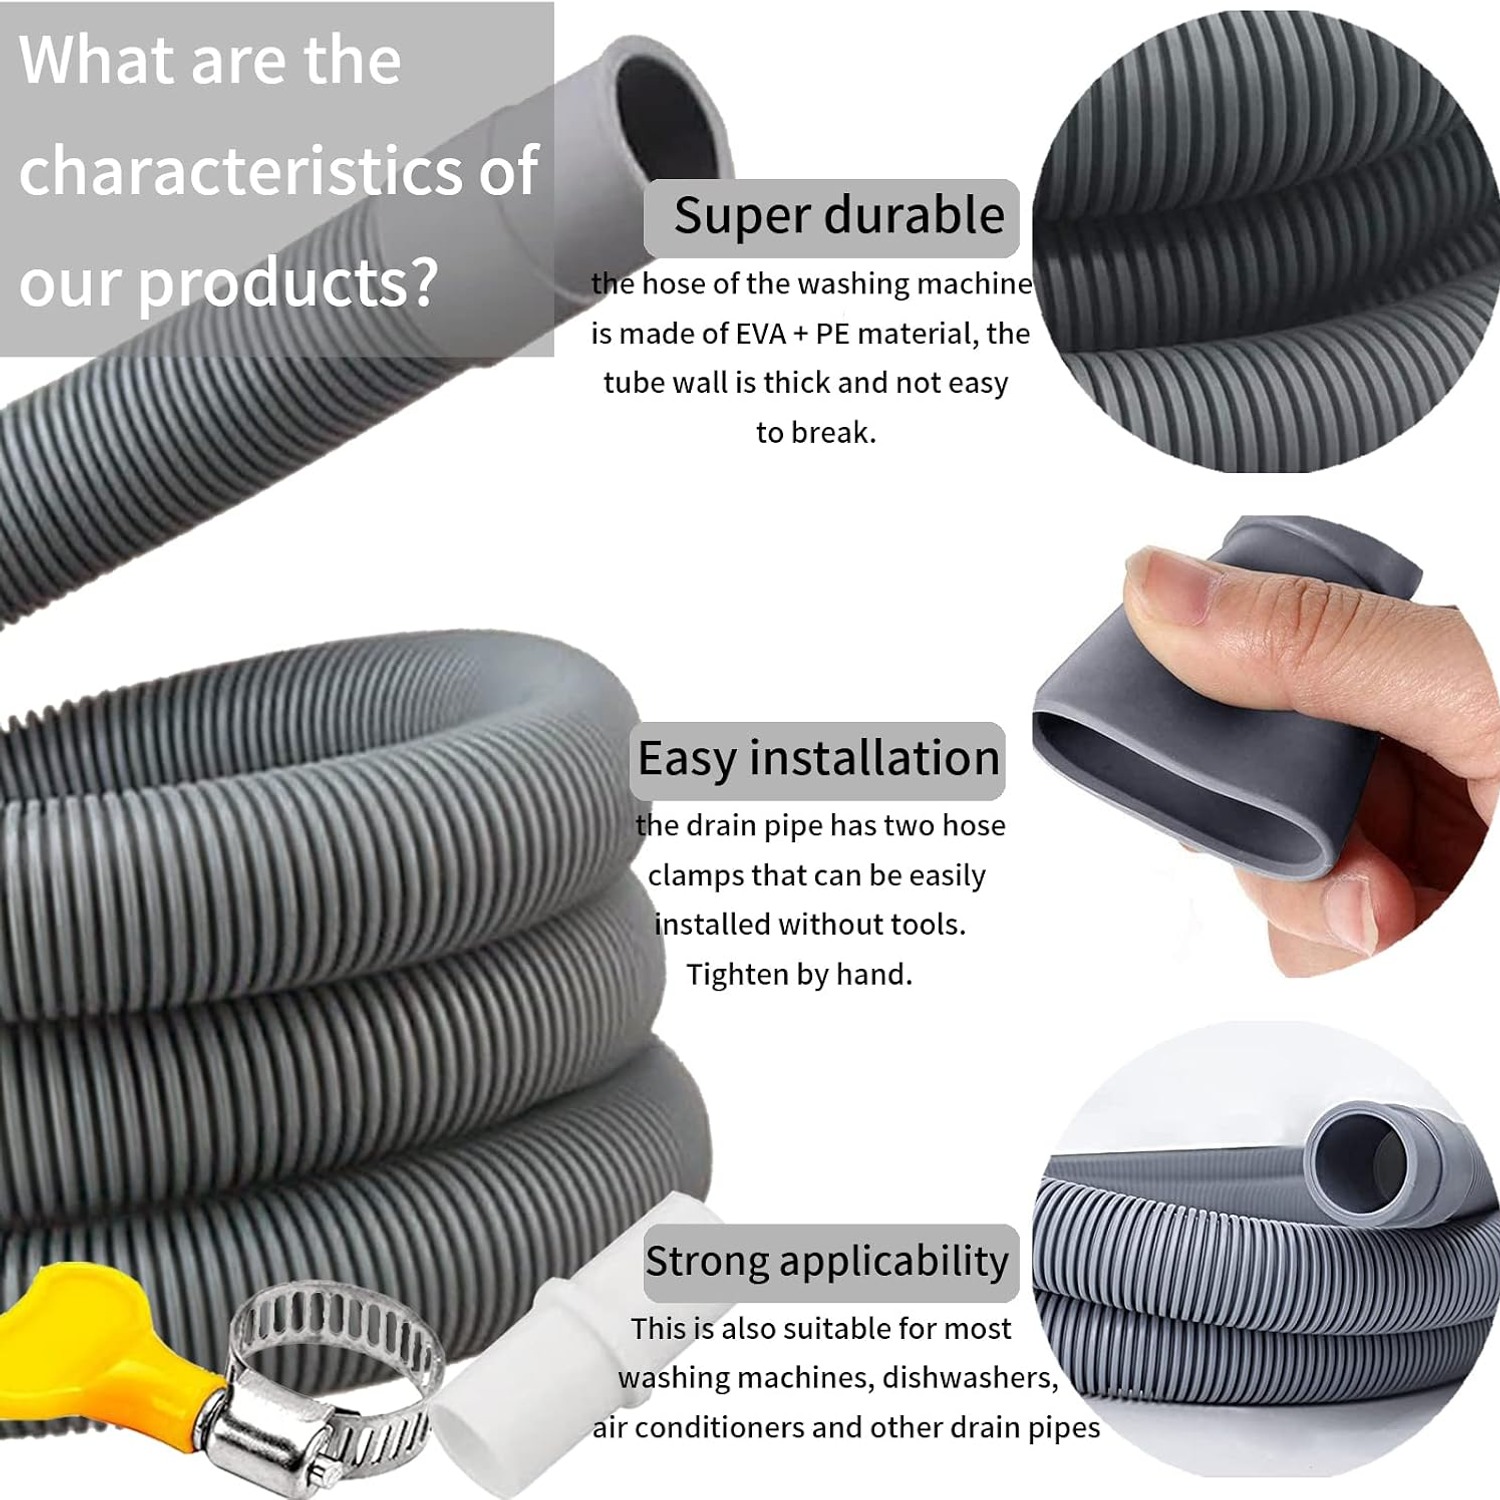
The corrugated profile of the hose is the other half of the design. Those ribs let the wall compress on the inside of a bend and stretch on the outside, so the bore stays round instead of collapsing. A smooth hose folded round a cabinet corner flattens into a crease and the water slows to a trickle. With a 4mm nominal wall and a 25mm outside diameter, this one has enough body to resist that.
Who this suits
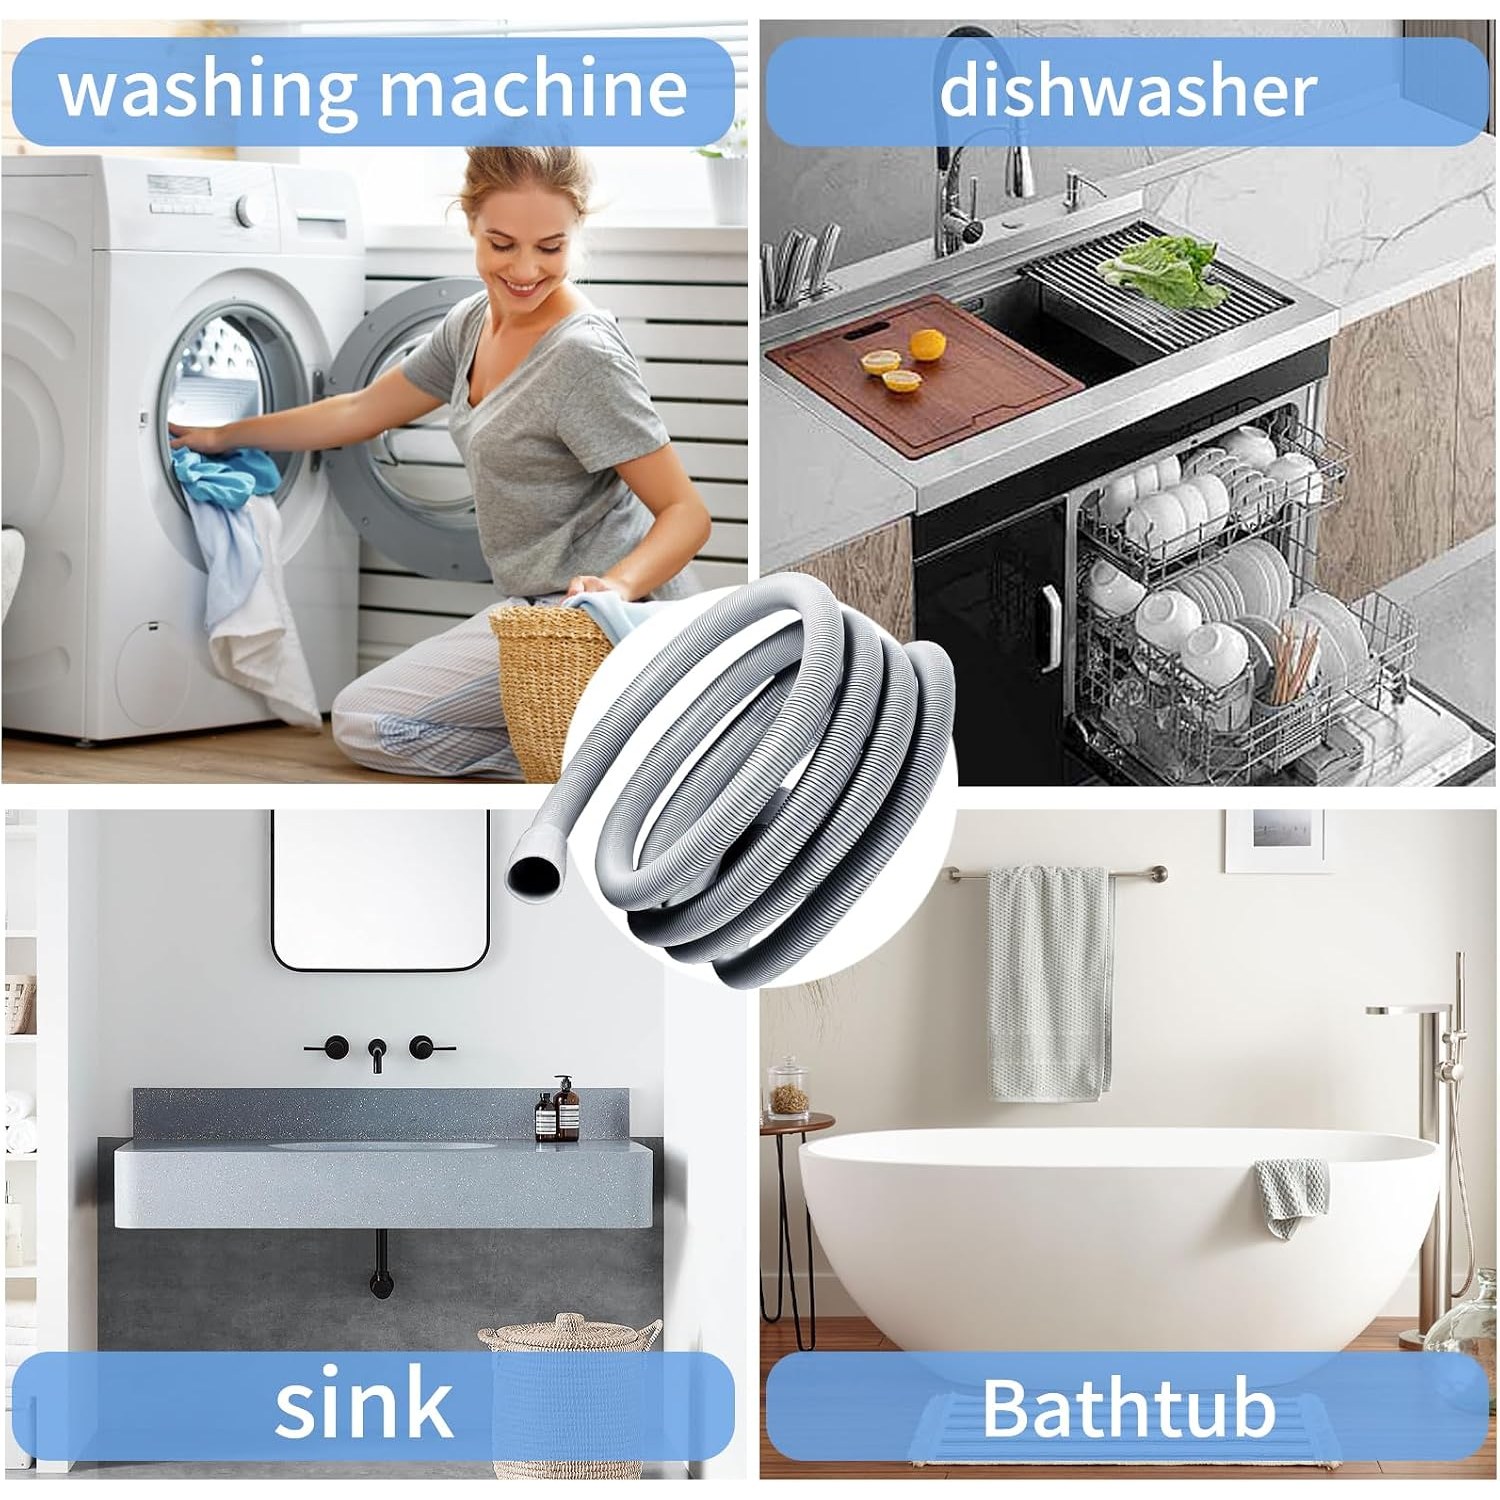
Anyone moving a washing machine more than a metre from its current waste point. Anyone fitting a dishwasher into a kitchen where the old one sat somewhere else. People rearranging a laundry, people putting a machine in a garage or under a stair, people who bought a secondhand appliance that arrived with a stub of hose and no fittings.
It also covers condenser and heat pump tumble dryers that drain to a waste pipe rather than a tank, and combined washer dryers, which use a single waste line. A vented dryer is the one exception, since it moves hot air rather than water and has no drain hose to extend.
What it does not suit is a machine with an unusual hose diameter. Most domestic appliances use something close to 20mm nominal with a 25mm outside measurement, which is exactly what this kit is built around. A few commercial or older European machines use other sizes. Two minutes with a tape measure settles it.
Choosing the right length
Longer is not automatically better. Every extra metre of hose is more distance the pump has to shift water through, and most appliance manuals set a maximum total drain hose length for exactly that reason. Common limits sit somewhere between two and four metres, though you should check your own manual rather than guess.
Measure the route the hose will actually take, not the straight-line distance. Round the back of the machine, along the wall, up to the standpipe. Add a little slack so the hose is not stretched tight, because a taut hose pulls on its joints and leaves no room to slide the machine out for cleaning. Then compare that to what your existing hose already gives you. If the gap is under 1.5 metres, this kit covers it with room to trim.
If you need more than one extension, you can chain a second length with another adapter. Just be aware that two joints are two chances for a leak, and that you are eating into the manufacturer's maximum run.
Fitting it without making a mess
Switch the machine off at the wall first. Put a towel and a shallow tray under the work area, because the old hose will still hold water and it will come out the moment you lift it.
Slide one clamp onto the end of the existing hose and one onto the end of the new hose before you join anything. Everyone forgets this at least once. Push the adapter firmly into the first hose until it stops, then push the second hose onto the other end of the adapter. Work each clamp into position over the adapter and tighten.
Hook the U-bend holder onto the free end so the hose curves over the lip of your standpipe, sink or tub, then secure it so it cannot vibrate loose during a spin cycle. Check your appliance manual for the required drain height, since running the outlet too low can siphon water out of the drum and too high can overload the pump.
Finally, run a short rinse cycle and watch the joint with a dry cloth underneath. A dry cloth after a full cycle means the job is done. A damp patch means the clamp needs another turn or the adapter was not pushed fully home.
Keeping it working
Appliance waste hoses are low maintenance, but they are not zero maintenance. Lint, detergent residue and grease build up on the inside over months, and a narrowed bore drains slowly. Running an occasional hot empty cycle with a machine cleaner clears most of it.
Keep an eye on how the hose is routed every time you pull the machine out. It is surprisingly easy to shove an appliance back and trap the hose against the wall, and a crushed section will cause drain errors that look like a pump fault. Keep heavy furniture off it, keep it out of direct sun if any part of the run is exposed, and do not let it sit in a permanent tight fold.
Check the joint now and then. Clamps can loosen slightly as the plastic settles, especially in the first few weeks. Half a turn once is usually all it ever needs.
Replace the hose if you see a split, a permanently flattened section, or a joint that will not seal no matter how you tighten it. At this price it is not worth nursing a failing hose next to a machine that holds fifty litres of water.
The short version
A short factory hose should not dictate where your appliances live. This kit gives you 1.5 metres of corrugated polypropylene hose with a 4mm wall, a 25mm outside diameter, plus the adapter, U-bend holder and two stainless steel clamps needed to join it on without touching the connection at the pump.
Measure your hose diameter, measure the route, check your manual's maximum run, and fit it by hand in about ten minutes. For most people that is the whole job, and the machine finally goes where it was meant to go.