
The complete guide
How to Choose a Tileable Shower Channel That Actually Disappears
The problem with the drain in the middle of the floor
Walk into most bathrooms and your eye finds the drain straight away. A round grate, usually chrome, usually sitting in a dished area of tile with four cut edges running into it. It works, but it is the one part of a nicely tiled floor that nobody designs around. It also collects a ring of soap scum that no amount of scrubbing quite fixes.
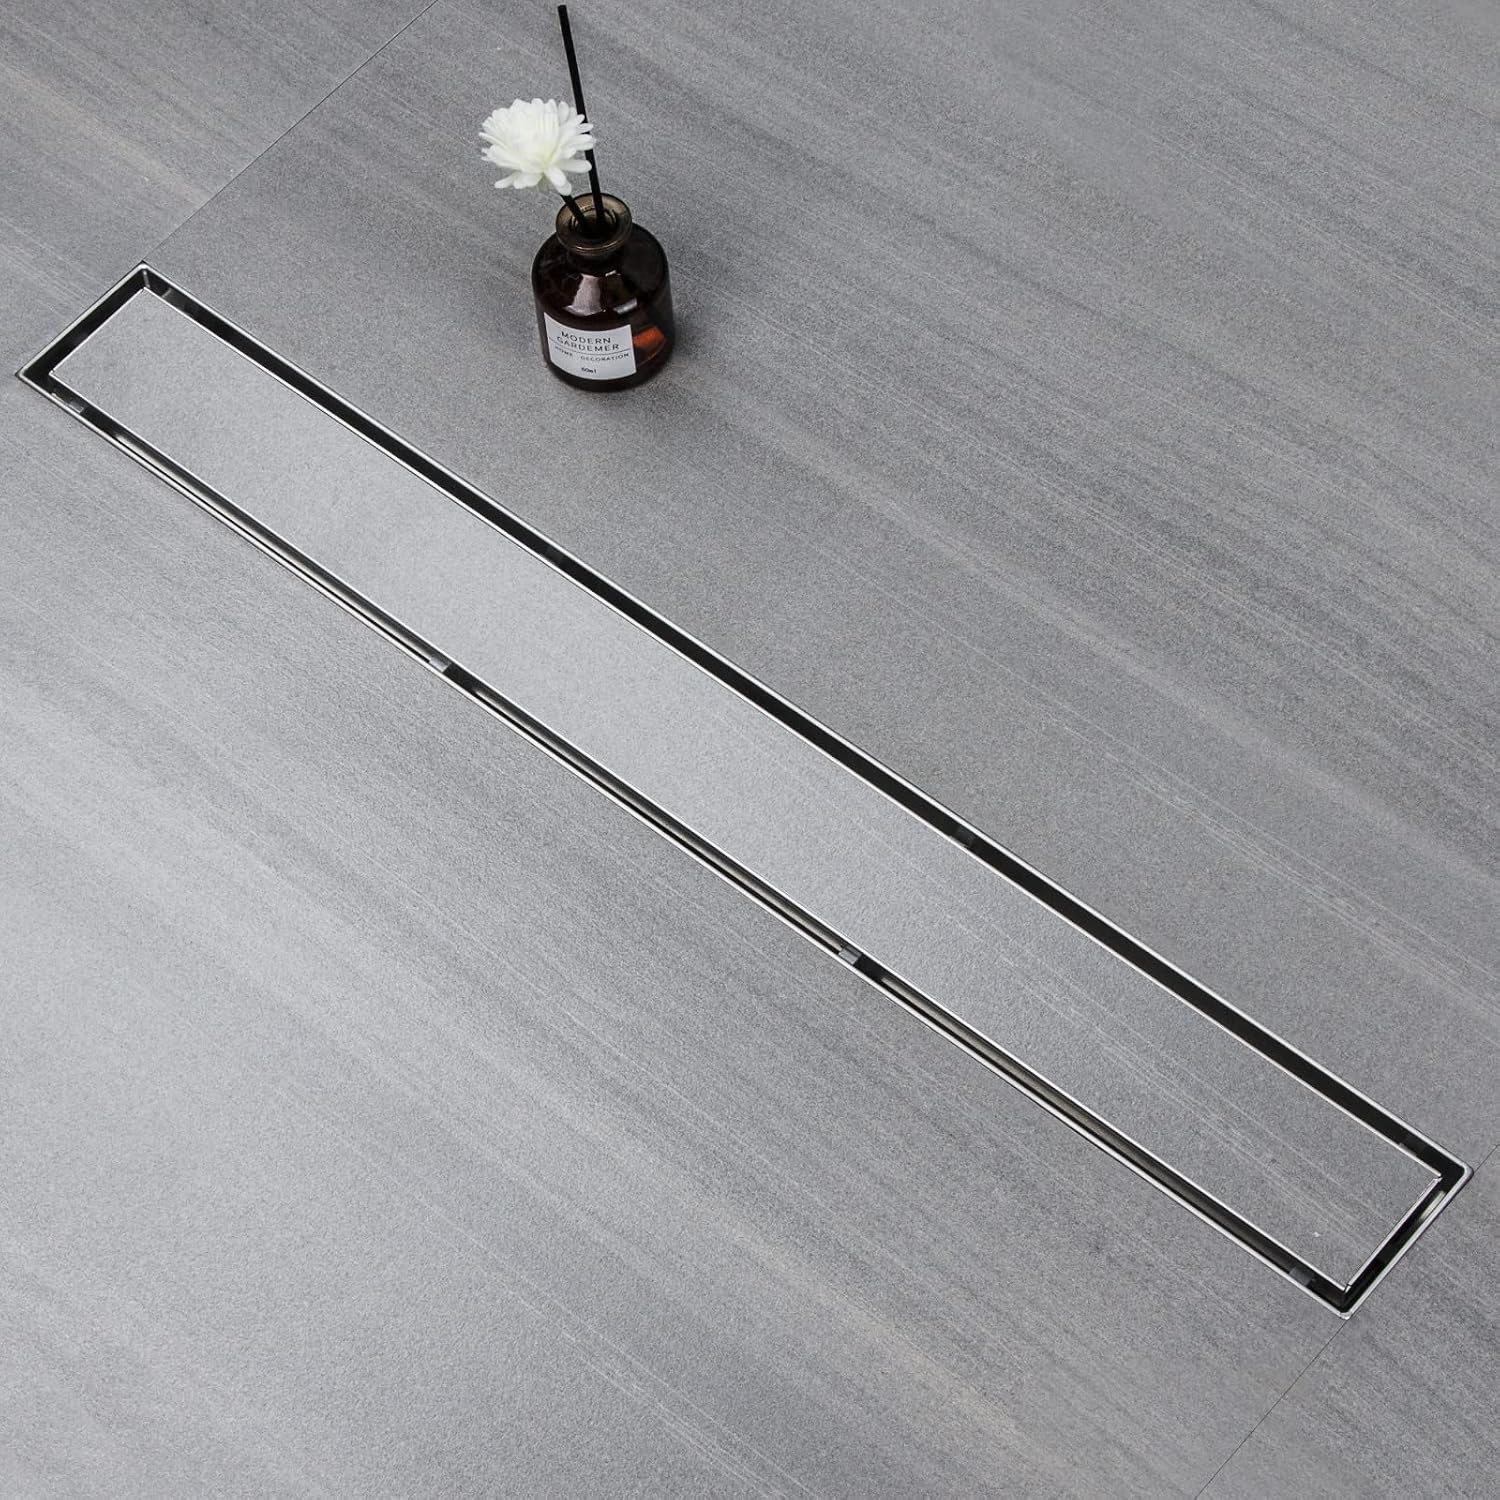
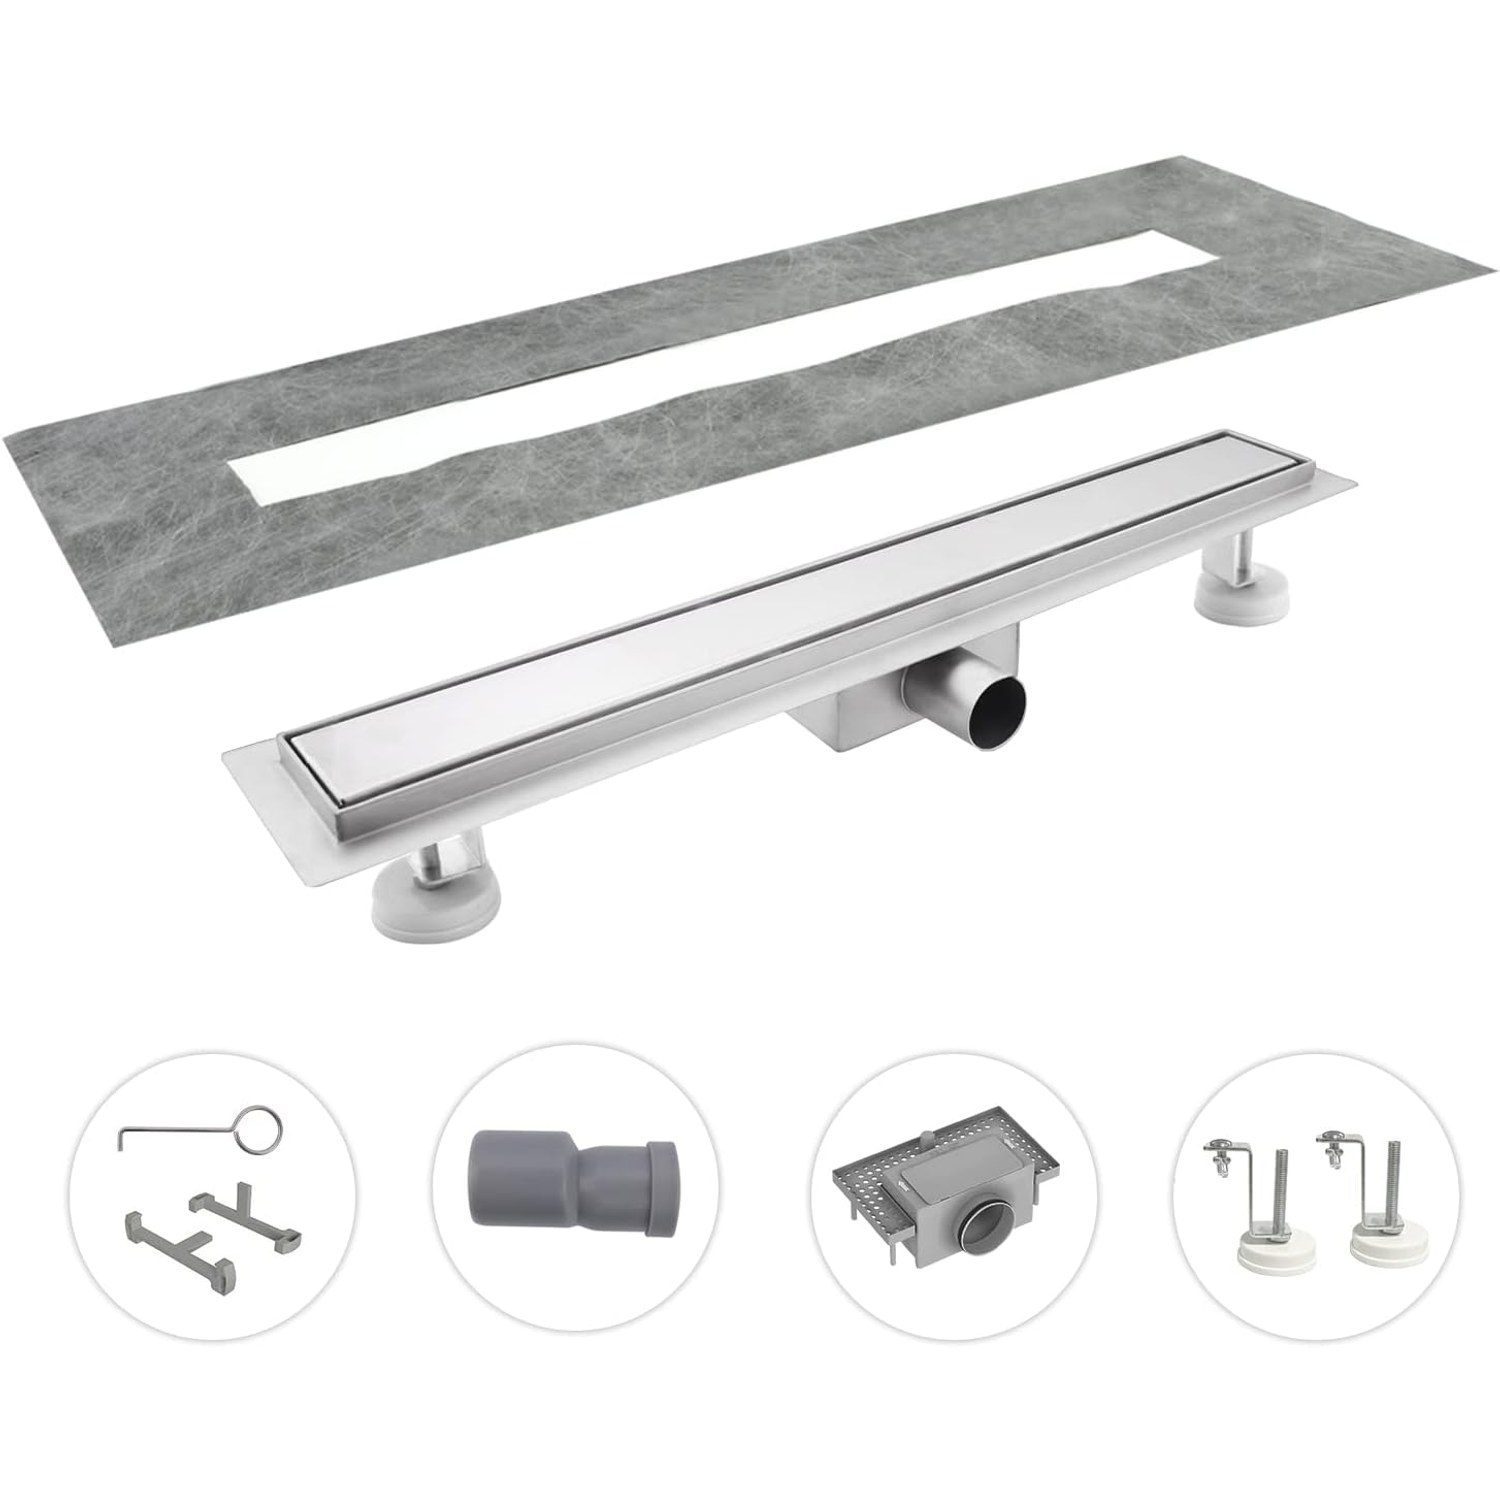
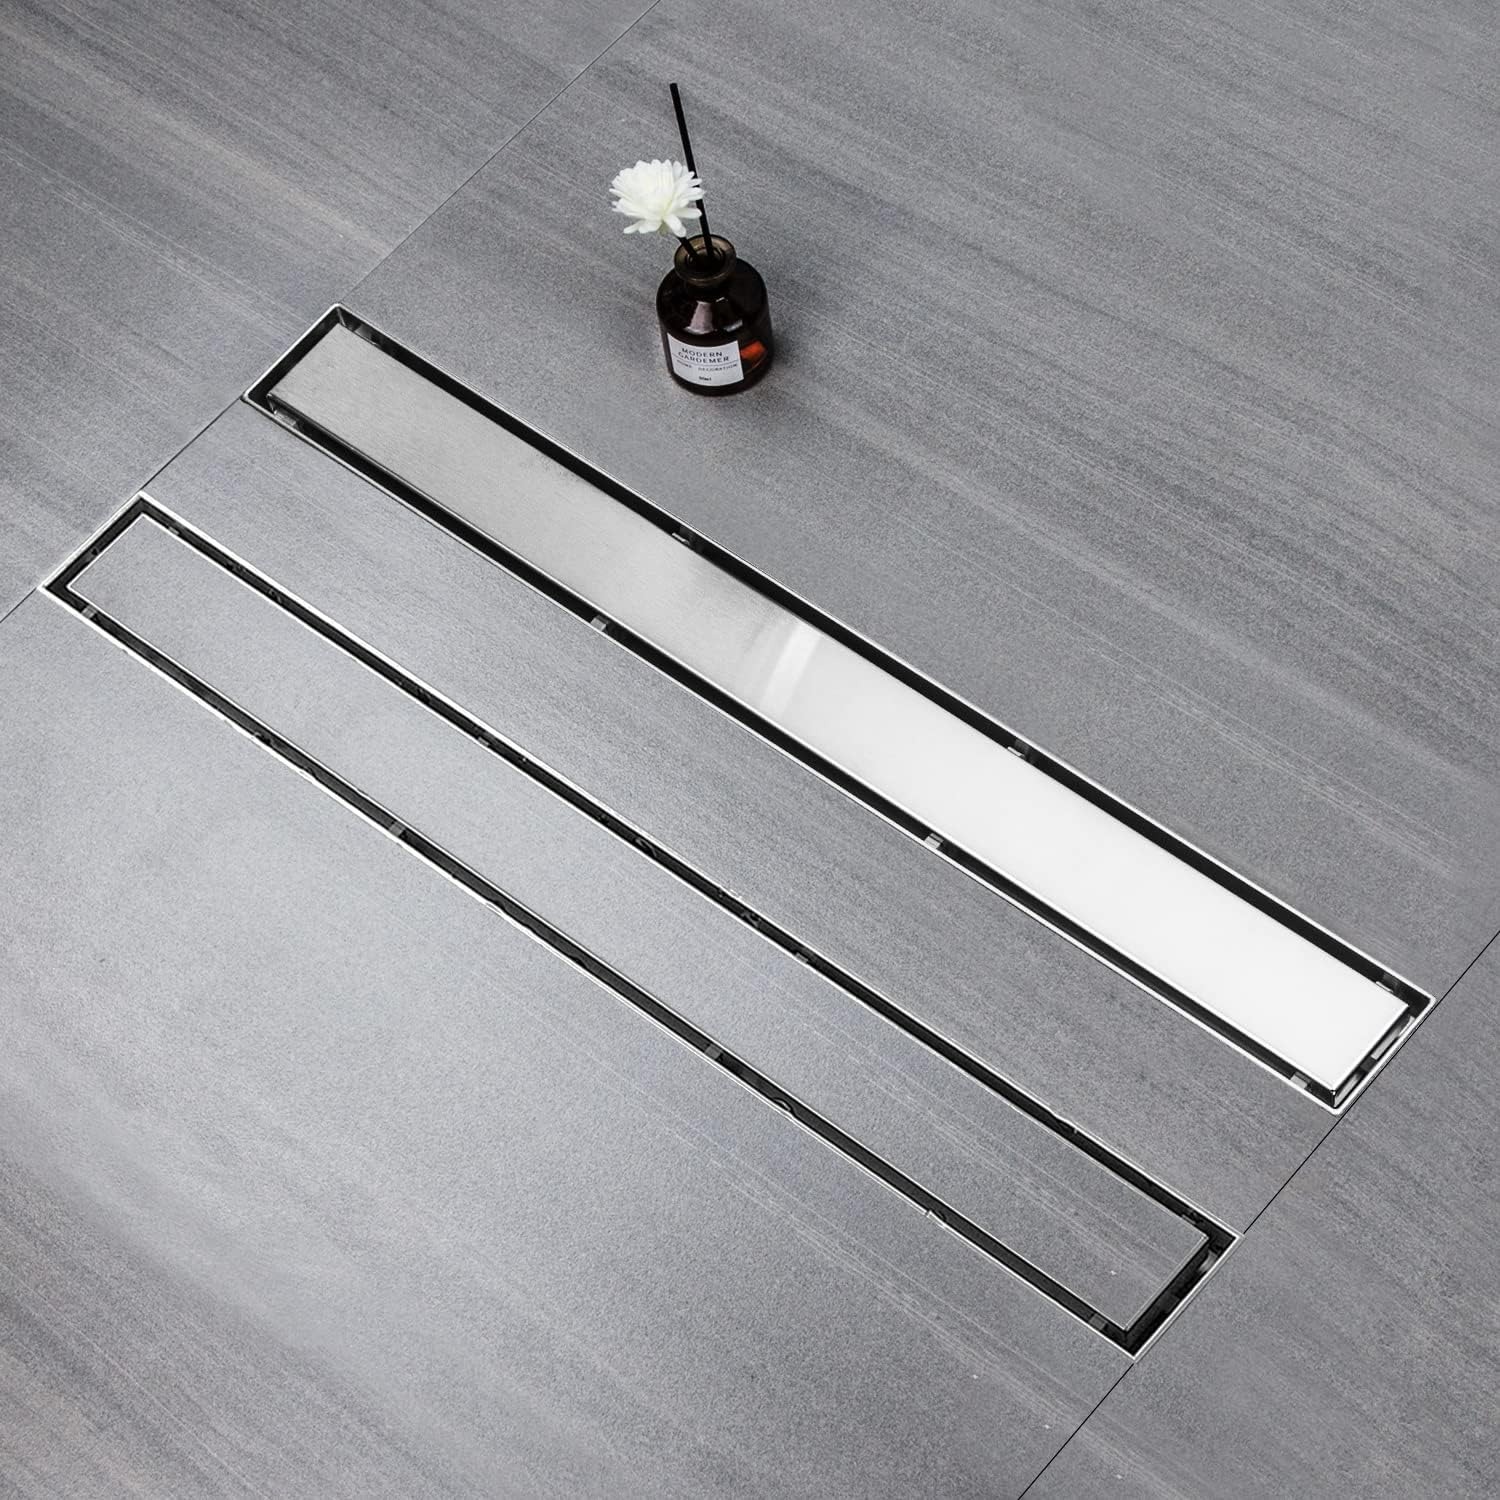
A tile insert shower channel solves that by changing the shape and the surface. Instead of a round hole in the middle, you get a straight channel along one edge. Instead of a metal grate, you get an open tray that takes a cut piece of your own floor tile. The floor runs across the shower in one continuous surface and ends at a thin line.
That line is the whole point. People do not buy these because they drain better in some magical way. They buy them because a bathroom with fewer visual interruptions looks bigger and calmer, and because a single plane of tile is easier to mop than a dished floor with four tapered cuts.
How a tile insert channel actually works
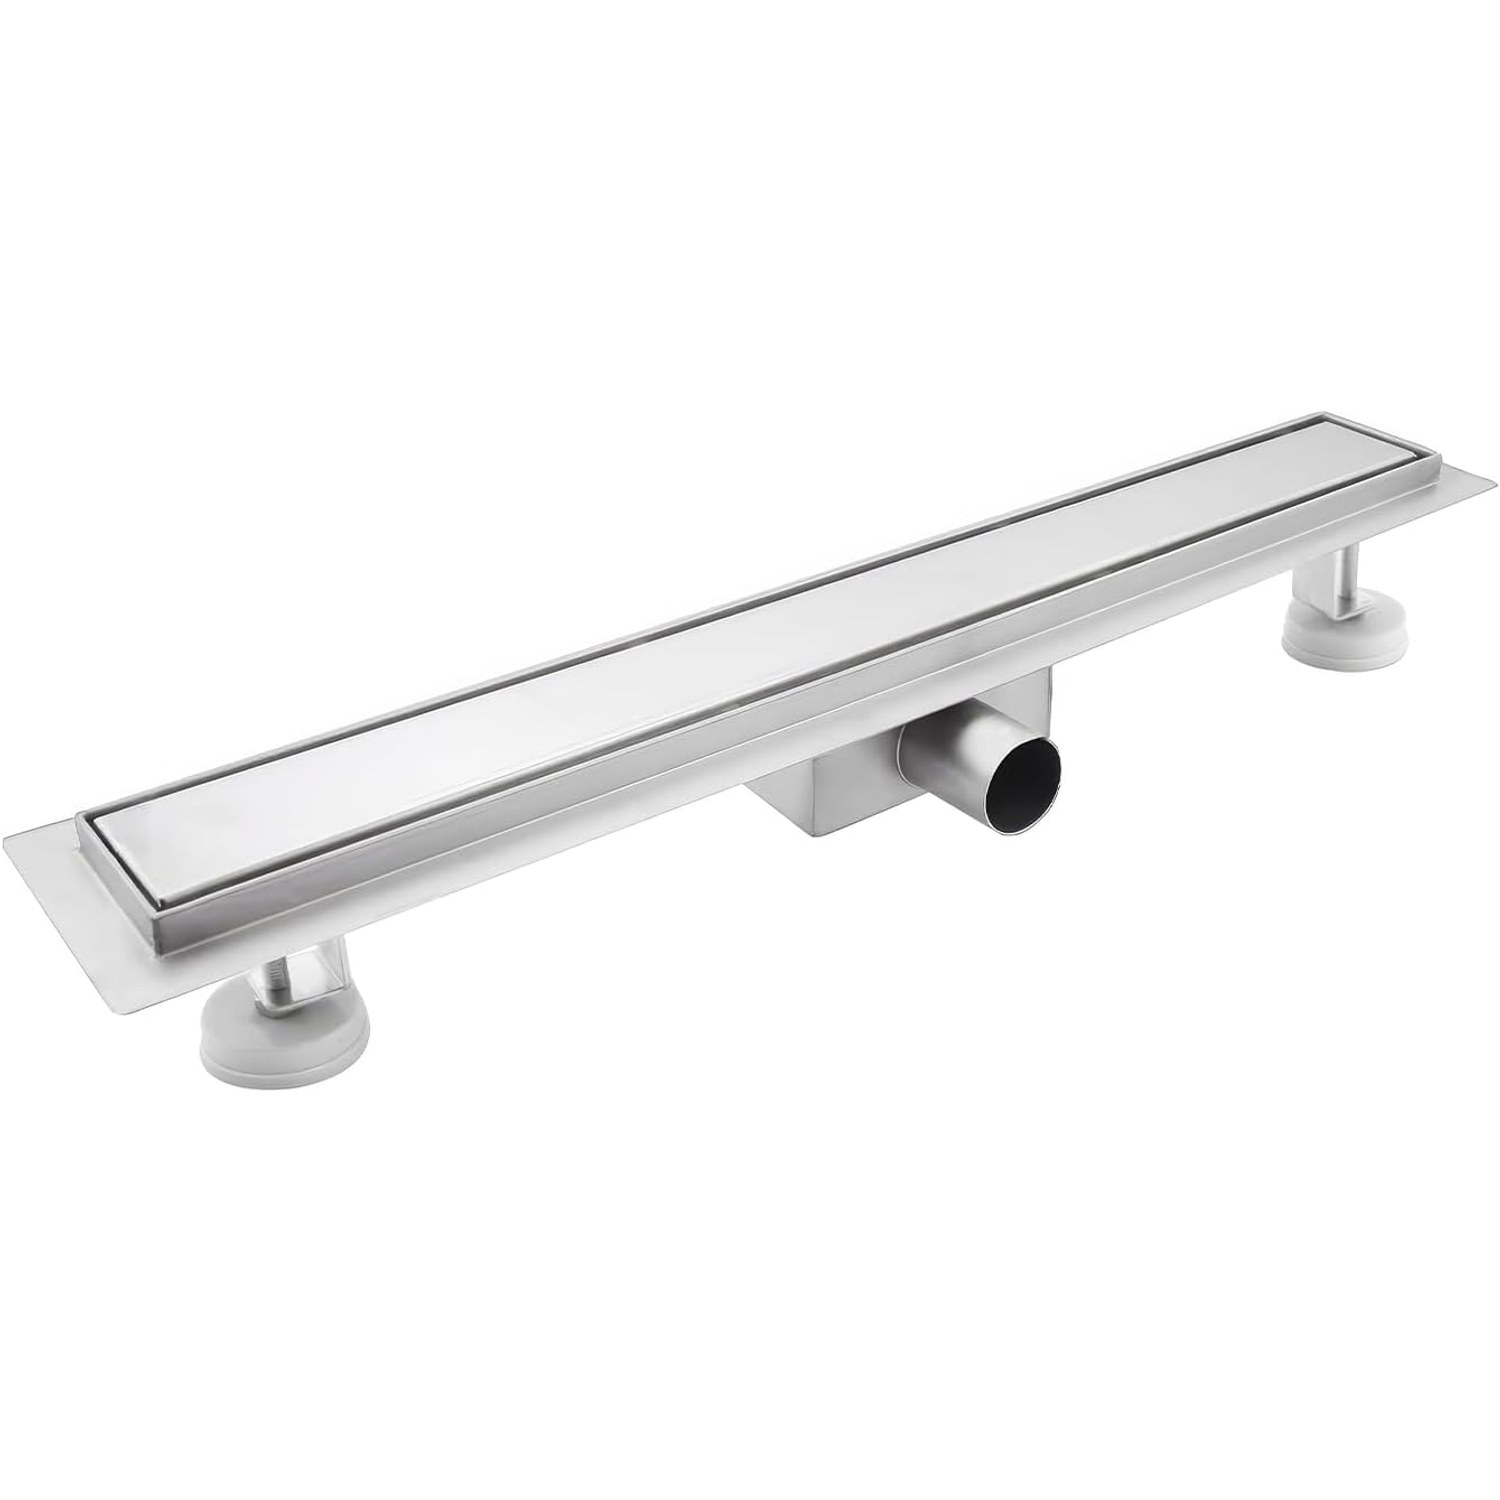
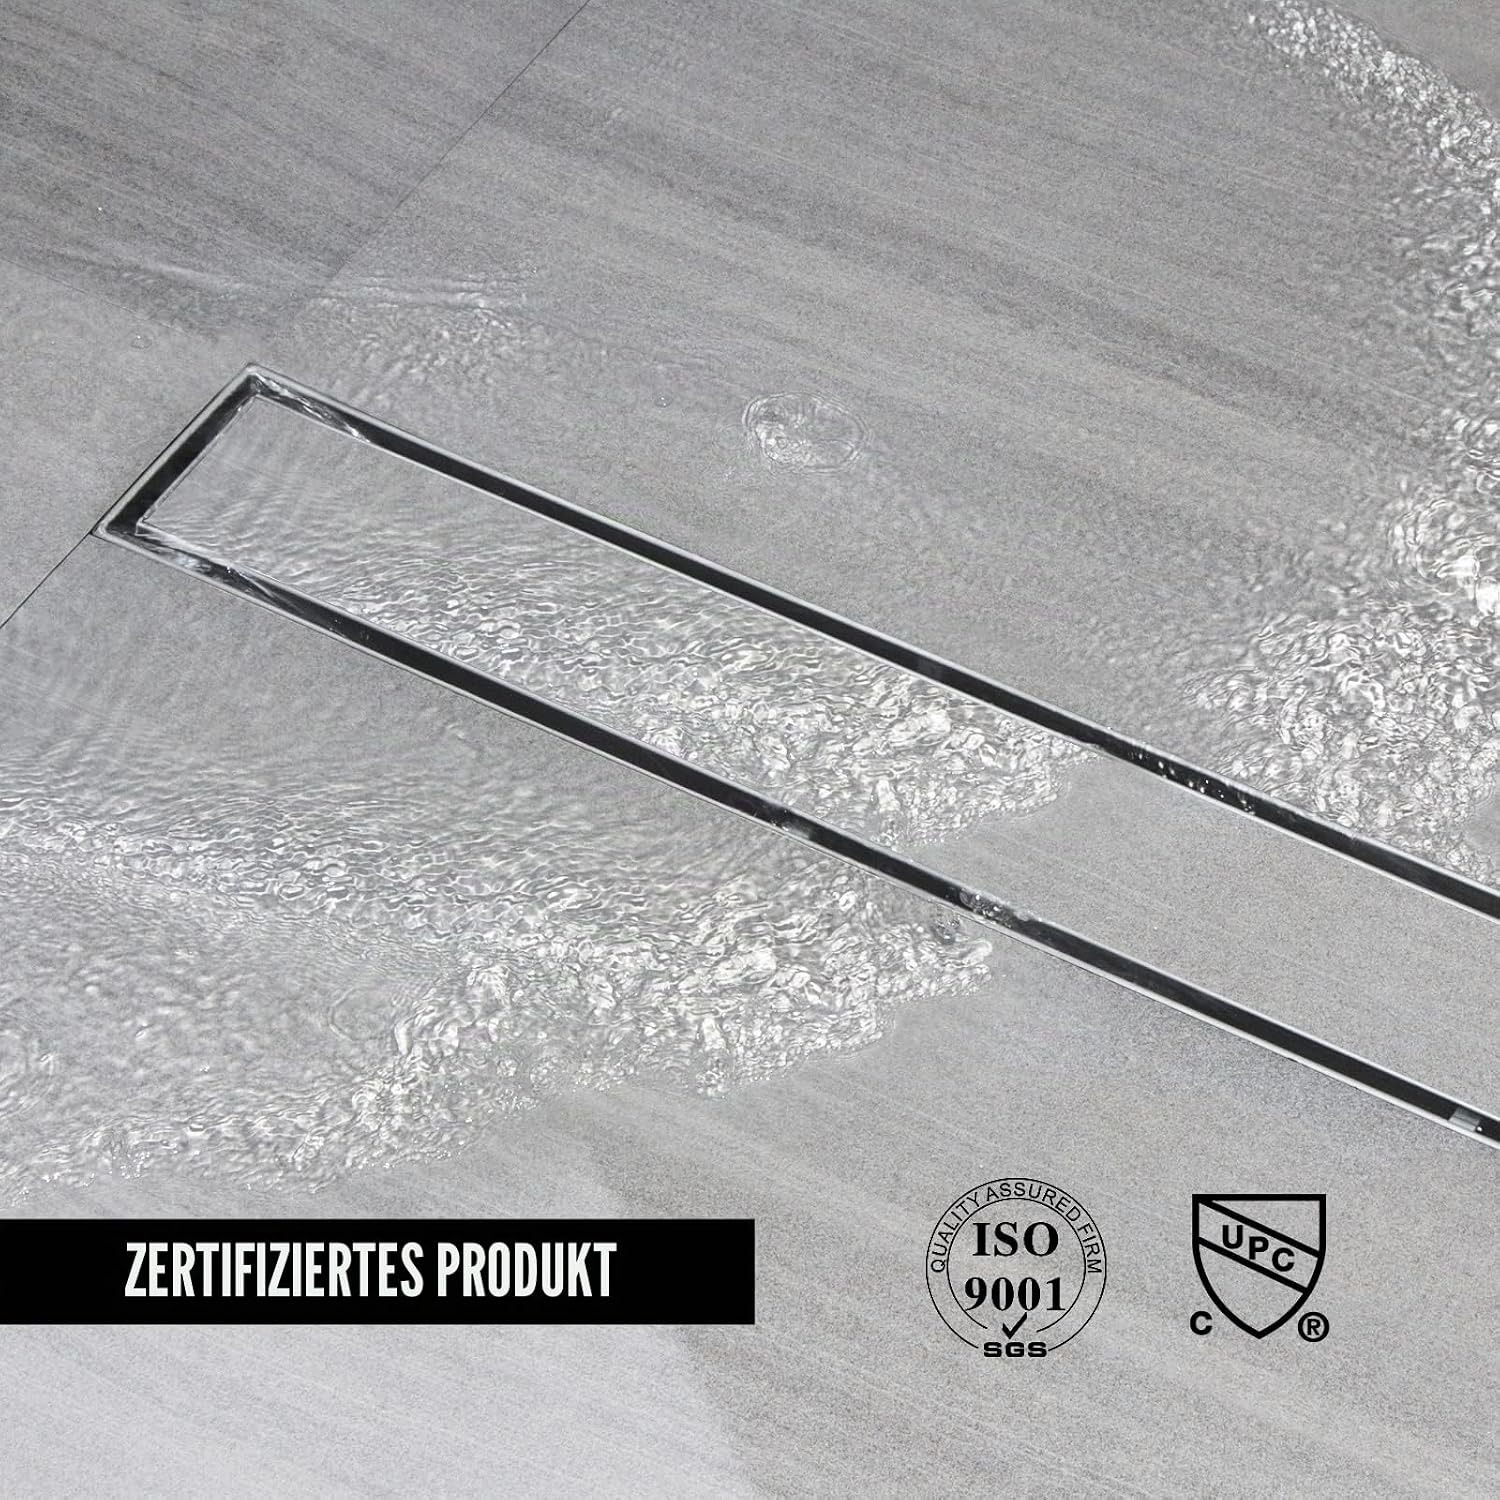
Underneath the tile, the mechanics are straightforward. The stainless steel body sits in the screed. The floor is laid with a gentle fall running towards it, so gravity pushes water along the tile and over the edge of the channel. Water drops into the body, runs along it, and leaves through the outlet into your waste pipe.
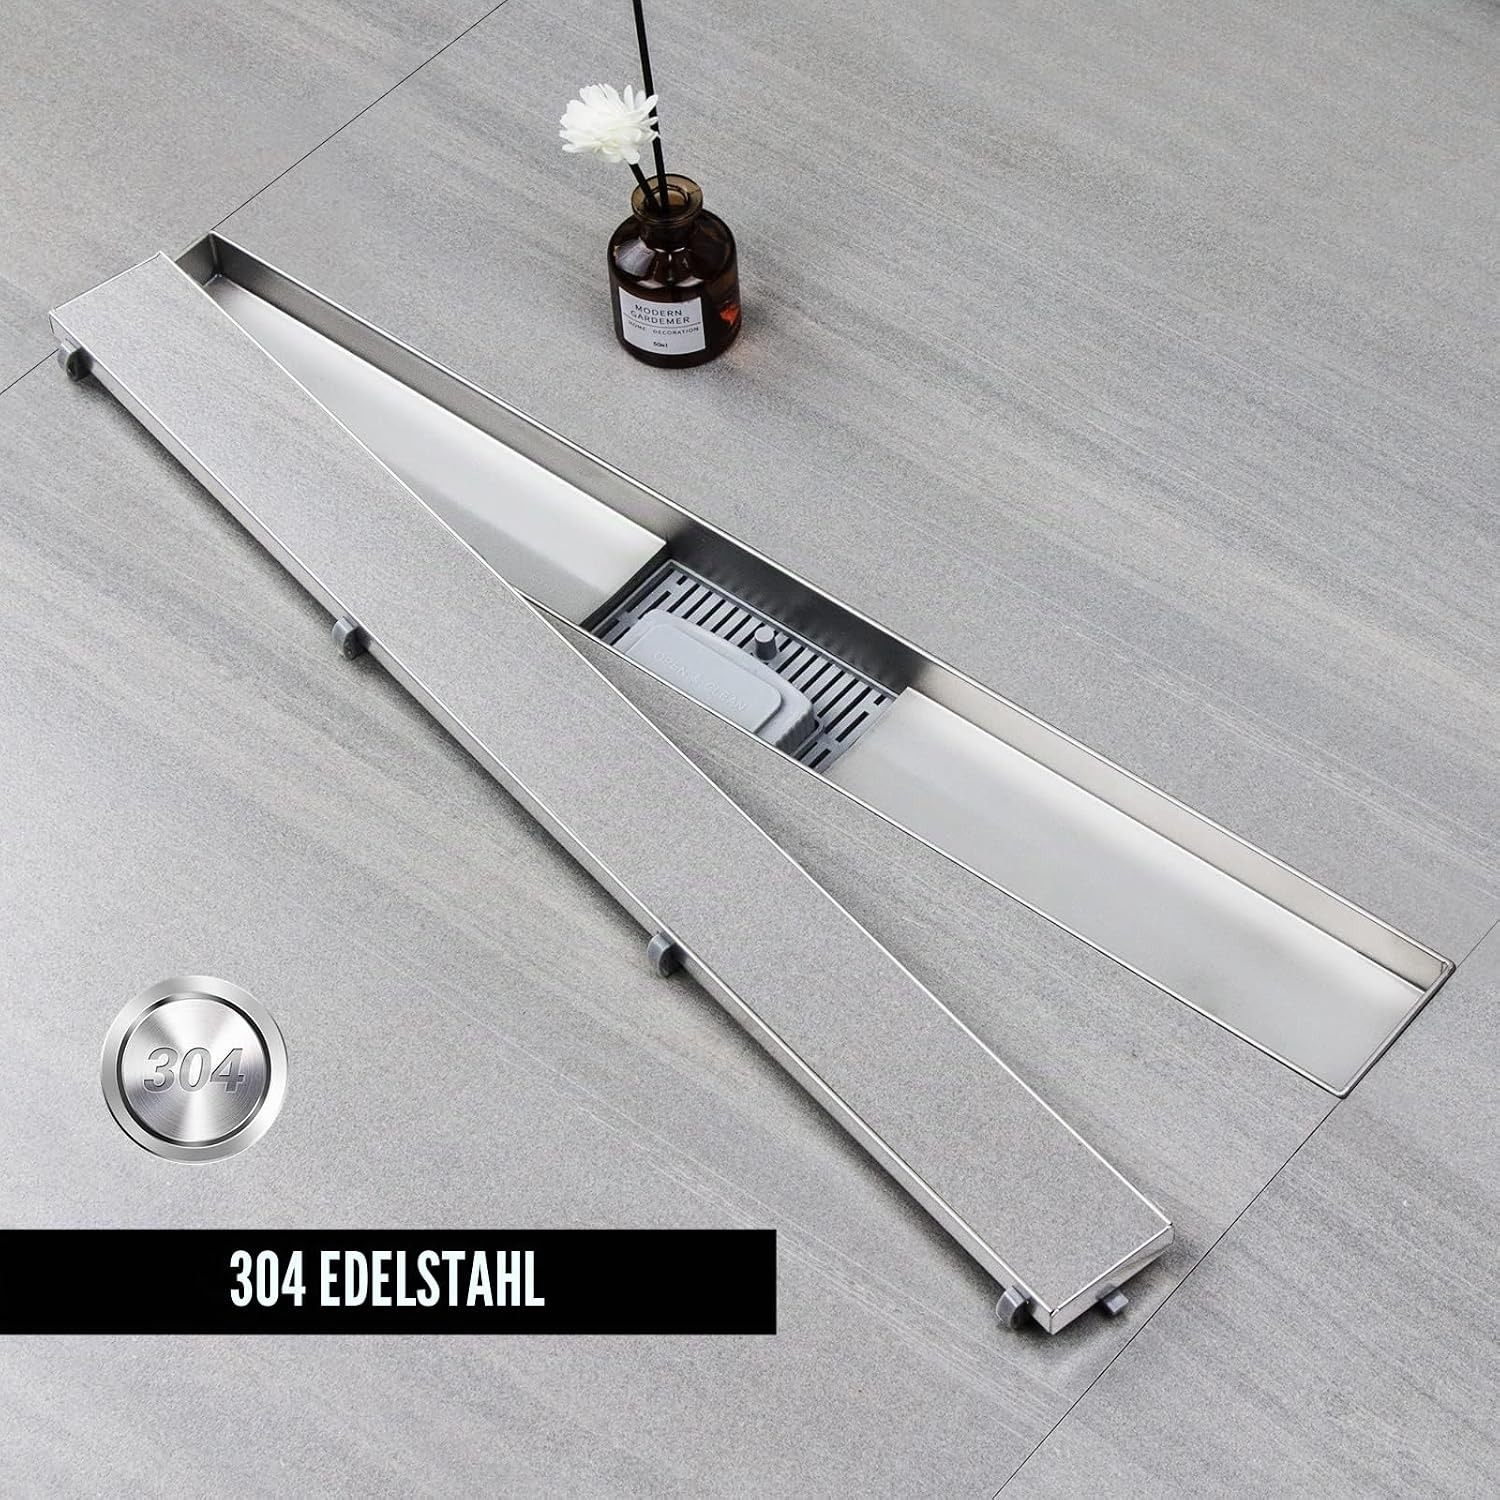
Inside that body sits a siphon. It is the same idea as the U-bend under a sink. A small pocket of water stays in the trap at all times, and that water blocks sewer gases from coming up into the room. On this unit the siphon is removable, which is more important than it sounds. A trap you can pull out is a trap you can clean. A sealed one eventually becomes somebody's problem.
Above the siphon there is a hair strainer. Hair, not grease, is what blocks nearly every shower in a family home. Catching it at the top where you can see it is far better than letting it travel down and knit into a plug somewhere in the pipe.
The supplier rates the outlet design at around 40 litres a minute. A normal shower head runs well below that figure, so the floor should clear at the pace water lands on it. That headroom matters more in a level-access wet room, where there is no step holding anything in if drainage lags behind.
Who this suits
This channel makes most sense if you are building or fully renovating a shower. The drain has to be set before the screed and the waterproofing go in, so it is not a swap-out job on an existing floor.
It suits level-access showers and wet rooms particularly well. With no tray lip and no step, the whole floor is the shower, and a long channel along one wall handles that better than a single point drain.
It also suits people who have chosen a tile they love. Large-format tiles, natural stone, a strong pattern: all of these look better when the floor is not broken up by a metal circle. The tile insert approach lets the floor carry the design.
It is less suited to someone who wants a quick cosmetic upgrade this weekend, or someone replacing a drain in a sealed shower tray. In those situations a standard grate replacement is the realistic option.
Working out whether 70cm is your size
Channel length is the first decision and the one that trips people up. Measure the opening of the shower, or the width of the wall you intend to run the channel along. Most installers set the channel short of wall to wall so there is tile either side, which looks deliberate rather than squeezed.
Seventy centimetres is a common middle size. It fits comfortably in a standard enclosure of around 80cm to 90cm, and it works as a threshold drain across a typical shower entry. If your shower is a large walk-in with a 1.2 metre opening, a longer channel usually looks better proportioned.
The exact channel width, body depth and outlet size are not specified by the maker. If your waste pipe position is already fixed, or your floor build-up is tight, get those numbers confirmed before the screed is poured. It is a five-minute conversation with a plumber and it avoids an expensive rethink.
Materials and why stainless matters
The maker specifies stainless steel, described by the supplier as 304 grade. That is the standard grade used across bathroom and kitchen hardware, and it is chosen because it handles constant wet conditions, soap, shampoo and cleaning products without pitting or discolouring quickly.
Weight tells you something too. At 2.5 kg this is a solid piece of metal, not a thin pressed shell. Weight in a drain body generally means thicker walls, which means less flex when the screed goes in around it.
What stainless does not like is harsh chemistry and abrasion. Chlorine bleach left sitting on it, strong acid cleaners and steel wool will all mark the surface over time. That is worth knowing up front, because it shapes the care routine and the routine is genuinely easy.
Installing it without regrets
Assembly is required and instructions are included, but this is a plumbing job, not a flat-pack job. Three things decide whether the installation succeeds.
Fall comes first. The tiled floor must slope towards the channel evenly across the whole shower area. Too little fall and water sits. Too much and the floor feels odd underfoot and the tile cuts get awkward.
Waterproofing comes second. The membrane has to connect properly to the drain body with no gaps. Water finding its way behind tile is the single most expensive failure in a bathroom, and it rarely shows up until months later.
Height comes third. This body is adjustable, which gives your installer some room to match the channel edge to the finished tile surface. Get it slightly low and water pools at the edge. Get it slightly high and water runs past it. Dry-fitting the tile insert before the adhesive goes down is worth the extra ten minutes.
Living with it
Day to day, it asks for very little. Every week or two, lift the hair strainer, rinse it under a tap and brush away anything stuck. That single habit prevents nearly every slow-draining complaint people have with linear channels.
Every month or so, pull the siphon out and flush it with warm water. Put it back and run the shower briefly to refill the water seal.
The visible stainless edge wipes clean with mild soapy water and a soft cloth. Drying it afterwards stops water spots forming, which is the main thing that makes stainless look tired in a hard water area.
If you come back from a long trip and notice a faint drain smell, it usually means the trap water has evaporated. Run the shower for a minute and it resolves itself.
The short version
A tileable shower channel 70cm long is for people who want the floor to be the floor, with no round grate breaking it up. It is 304 stainless steel, it weighs 2.5 kg, and it arrives with a removable siphon to stop odours and a hair strainer to stop blockages.
It needs to be planned in before the screed, and it needs a competent installer who understands fall and waterproofing. Get those right and you have a drain that works hard and shows almost nothing. Measure your shower opening first, confirm the outlet details with your plumber, and set aside a spare tile for the insert while the rest of the floor is being laid.