
The complete guide
How to Choose and Use a Spring Sink Plunger
The problem with a sink that will not drain
It always starts small. The washing-up water takes a moment longer to go down than it used to. A week later there is a shallow puddle around the plughole after you brush your teeth. Then one evening the sink fills and simply sits there, grey and still, while you stare at it.
Household drain blockages are rarely exotic. In a kitchen it is cooled cooking fat that has stuck to the inside of the pipe and then caught every bit of rice, coffee ground and vegetable peel that came after it. In a bathroom it is hair bound together with soap scum into something with the texture of wet felt. Both of those are soft blockages. They are compacted, they are stubborn, but they are not solid. That matters, because soft blockages respond very well to pressure and very poorly to patience.
The usual first instinct is to pour something down the drain. That is understandable, but caustic drain openers are harsh on older pipework and on rubber seals, they are genuinely dangerous to have around children, and if they fail you now have a sink full of corrosive liquid to deal with before you can try anything else. A plunger has none of those downsides. It is just water and force.
How a double action plunger actually works
A plain rubber cup plunger does one useful thing. You push down to expel air, then you pull up, and the suction on the up stroke tugs at the blockage. It works, but half of each cycle is wasted effort.
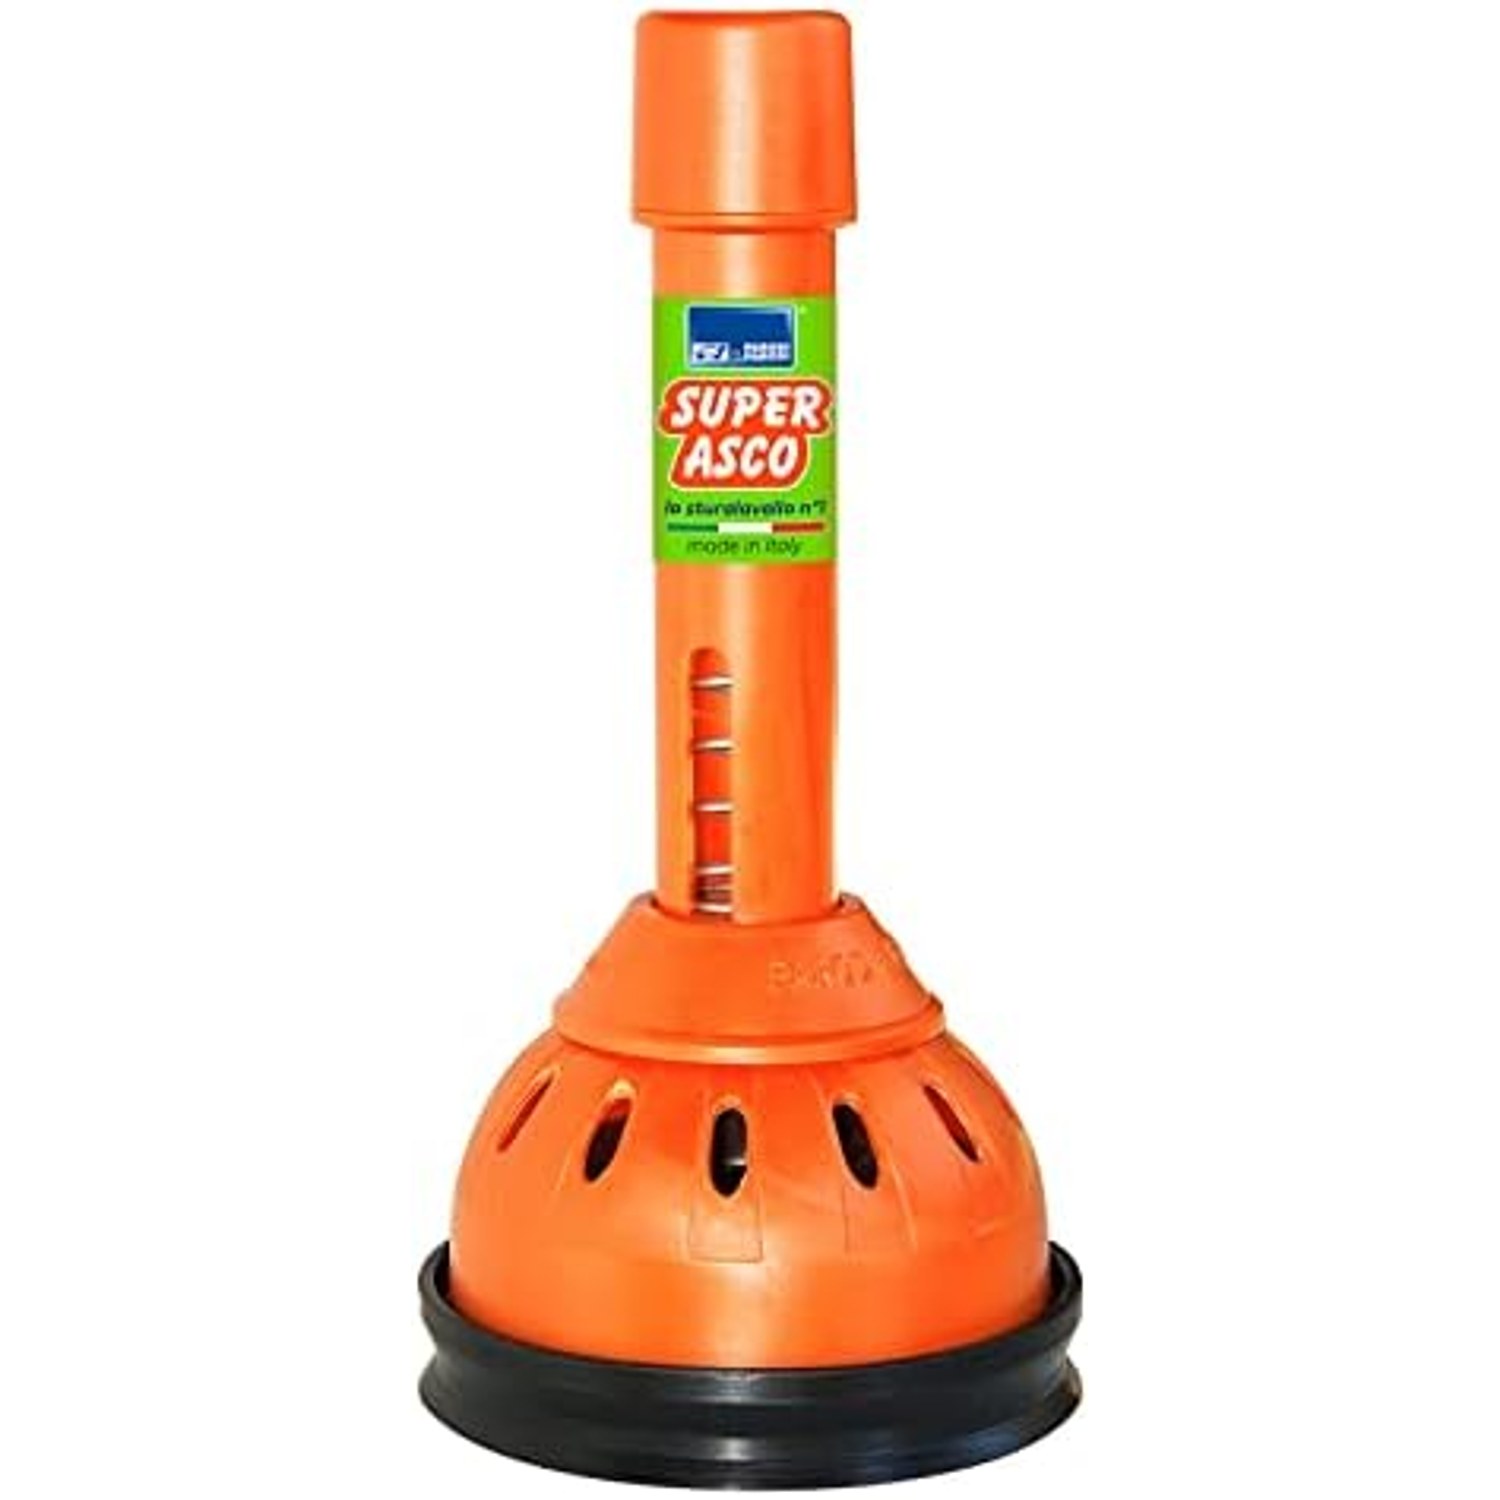
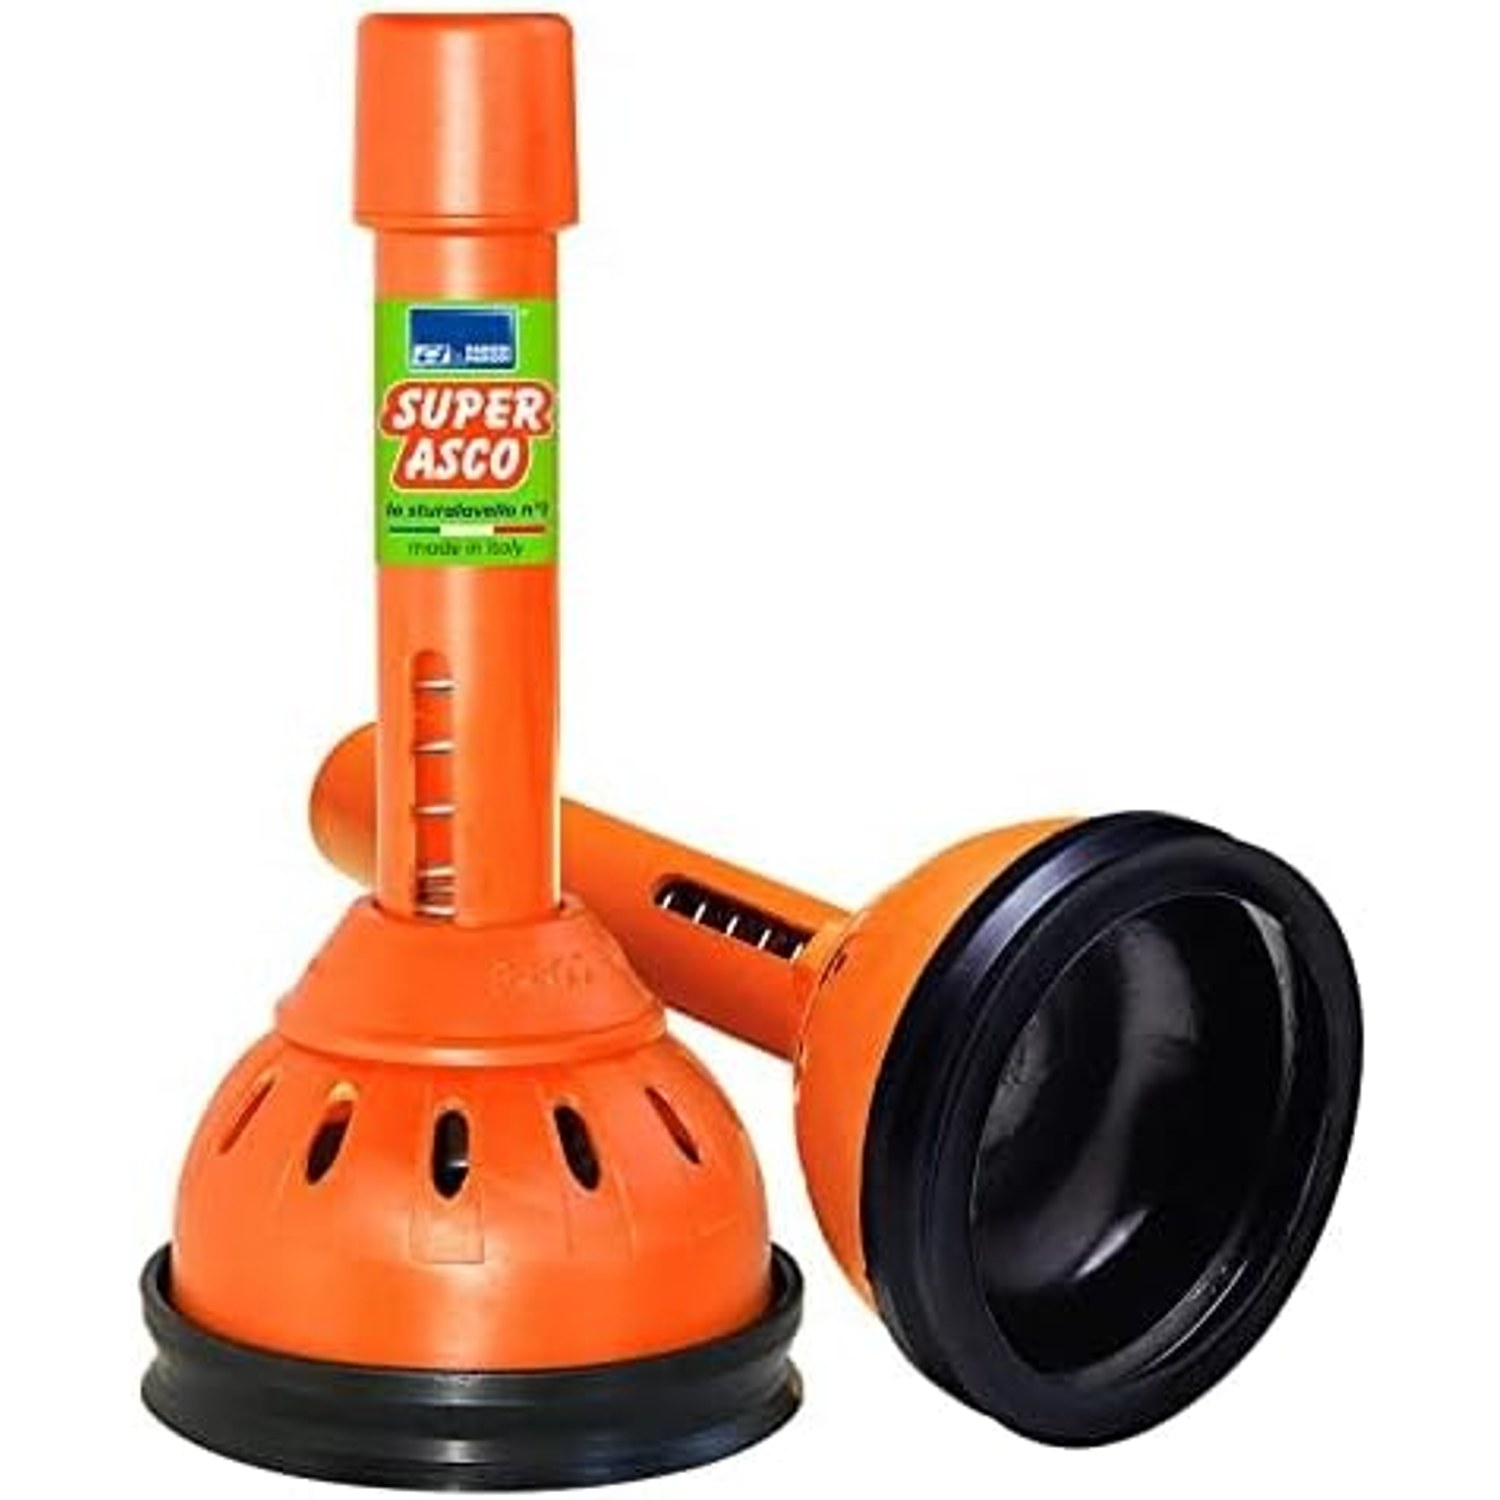
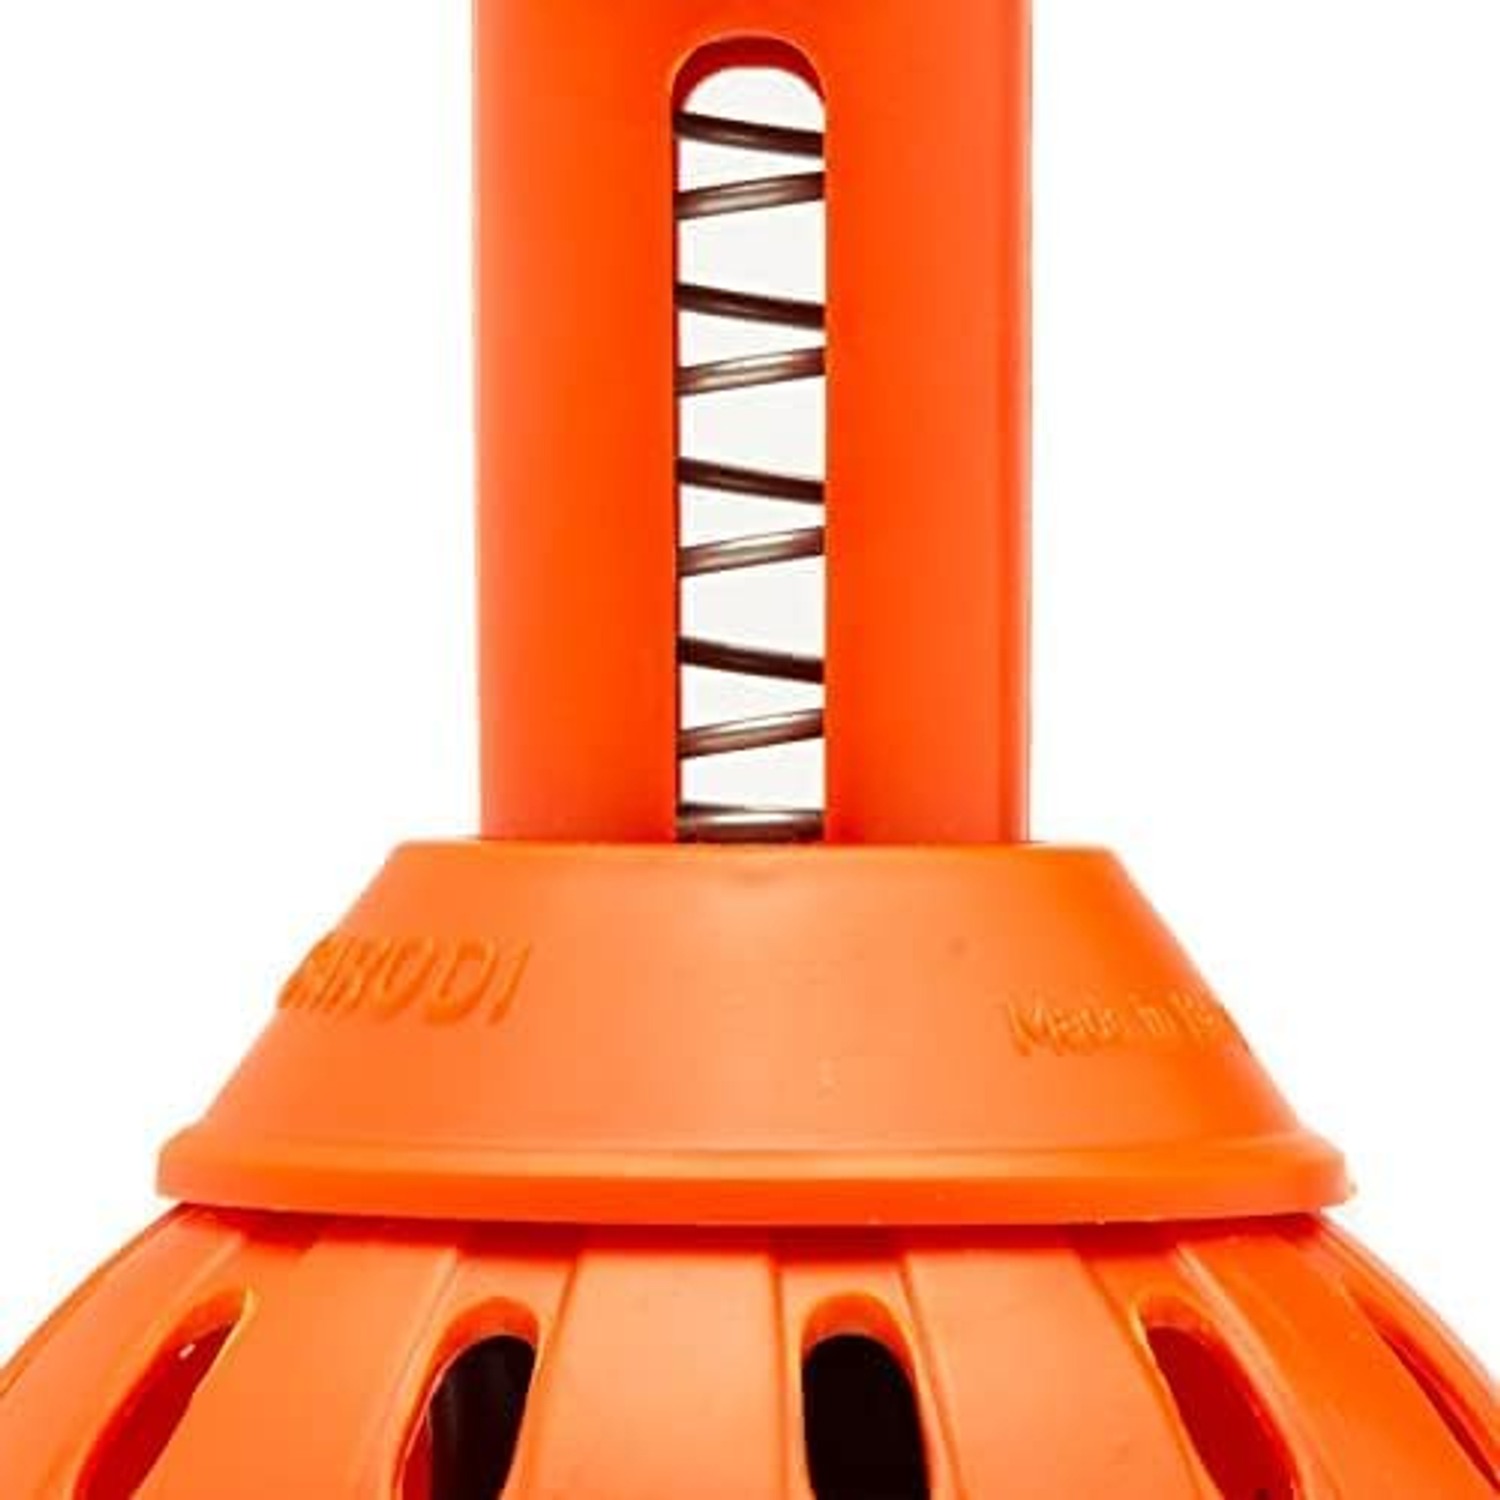
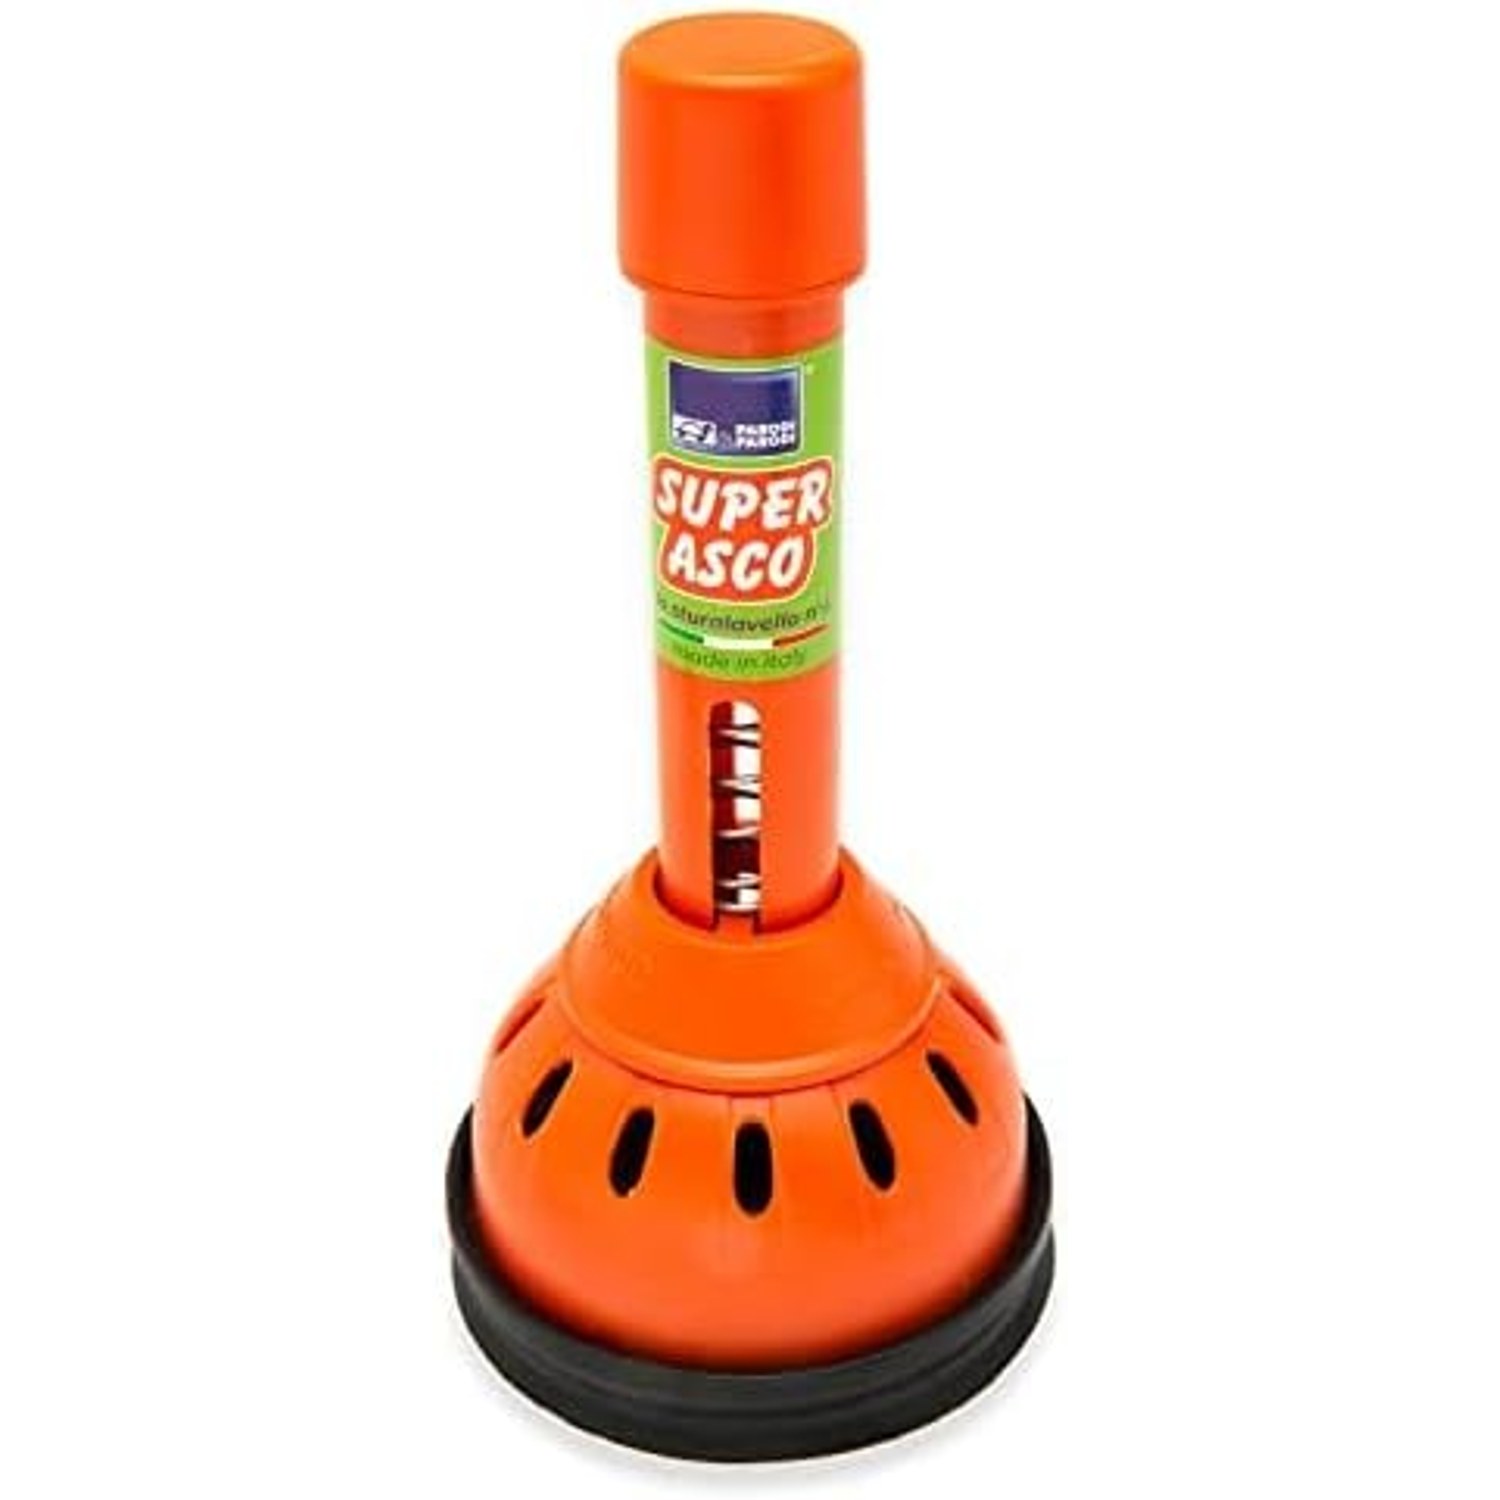
A double action plunger like the Super Asco is built to use both halves. The spring-assisted head compresses on the down stroke, driving a pulse of water into the pipe that pushes against the clog from above. Then it draws back on the up stroke, pulling water and loosened debris back toward you. You end up with an alternating pressure wave travelling down the waste pipe, and it is that back-and-forth movement that breaks a compacted plug apart rather than ramming it further along the pipe where it will reform somewhere less convenient.
This is why technique matters more than brute strength. Short, firm, rhythmic strokes beat a few enormous heaves every time. You are trying to set up a pulse, not win a fight.
Getting a proper seal, which is the whole game
If your plunging never seems to achieve anything, the cause is almost always the seal. Three things need to be true before you start.
First, there must be standing water in the sink, enough to cover the head of the plunger. Water carries pressure. Air compresses and absorbs it. Plunging a dry sink is mostly pointless, so if the basin has drained away, run a few centimetres back in.
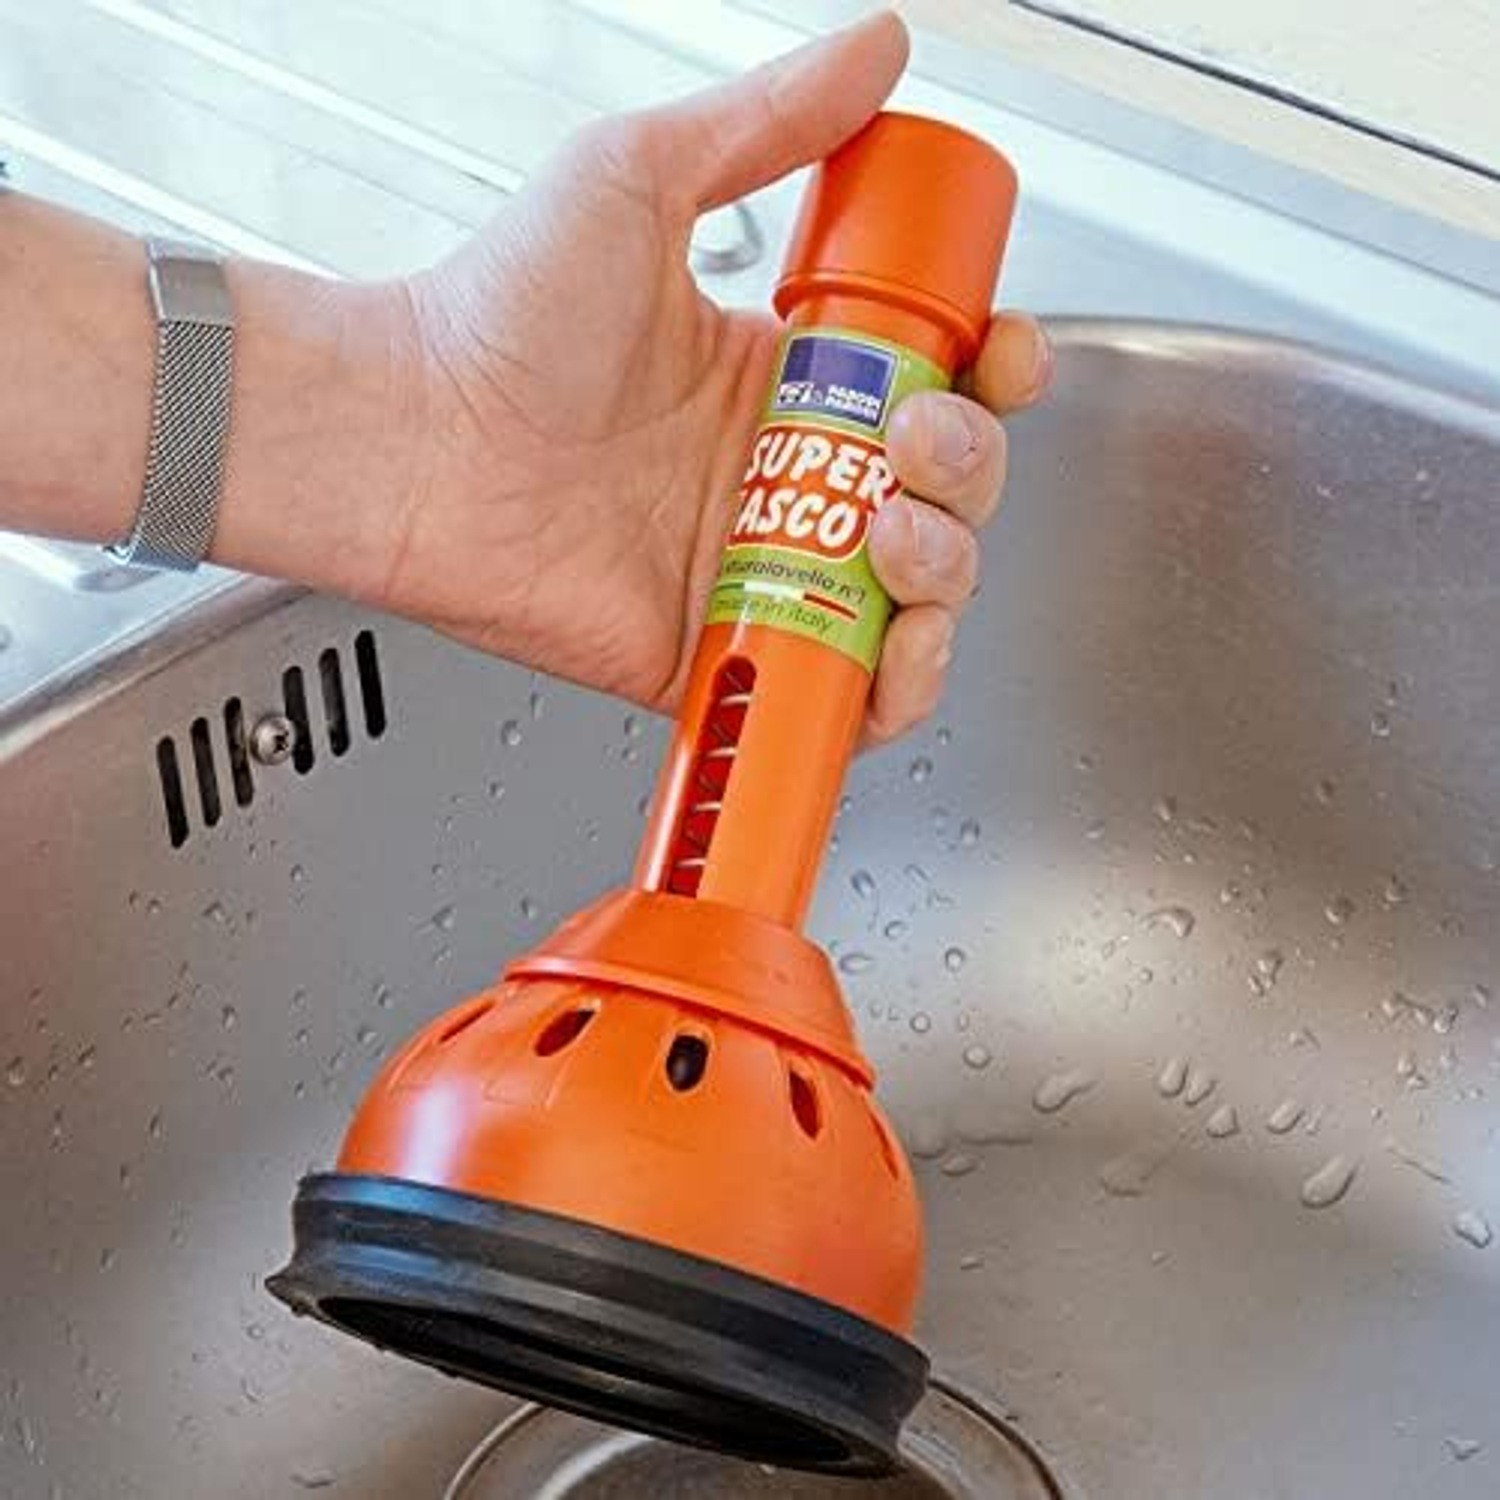
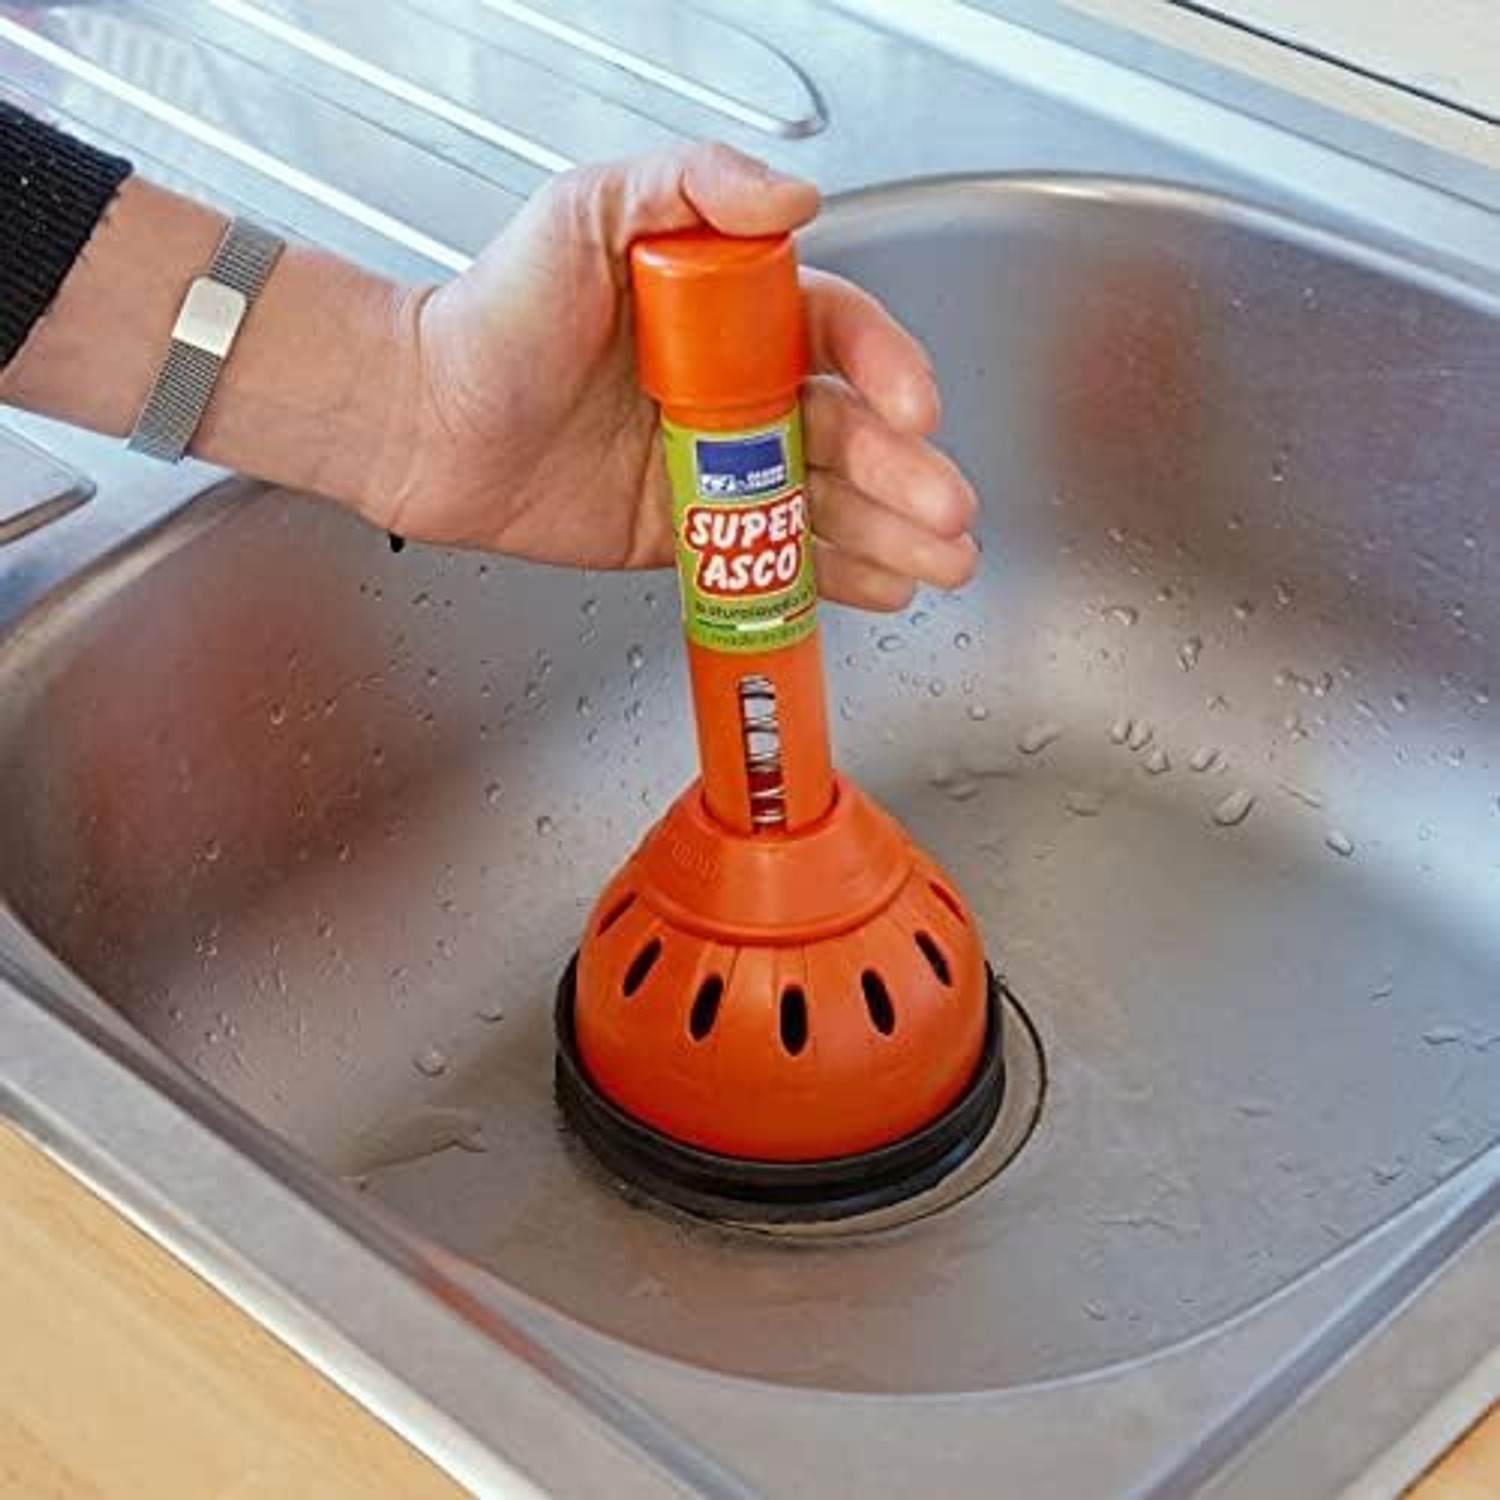
Second, the head has to sit flat on the surface around the drain. Angle it slightly as you lower it so the air escapes from underneath and water fills the gap, then press it down square.
Third, block the overflow. Nearly every basin and most kitchen sinks have one, and it connects to the same waste pipe below the plughole. Leave it open and a good chunk of your pressure simply vents out of it. Push a damp cloth firmly into the slot and hold it there with your free hand, or get someone else to. This single step is the difference between a plunger that works and one you decide is useless.
The swivel handle on this model helps with the second point in particular. At a kitchen sink the tap, the mixer spout or a window sill often sits exactly where your arm wants to be. Being able to pivot the handle means you can keep the head sealed flat while your arm works at whatever angle the space allows. That is a small design decision that pays off every time you use it.
Who this suits
If you have a kitchen sink that cooks a lot of food, you want one of these in the cupboard. The same goes for a shared bathroom where long hair is in the mix, and for anyone renting who would rather fix a slow basin themselves than wait three days for the agent to send someone.
It is also a sensible choice if your home is on a septic system. Chemical drain openers can knock out the bacteria your tank depends on, and the repair bill for that dwarfs the price of a plunger. A mechanical tool puts nothing into the system at all.
One thing it is not is a toilet plunger. Toilets need a flange plunger with an extended rubber lip that seats into the curved outlet. This is a sink and basin tool, with a head designed to seal against a flat surround. Buy both if you want to be properly covered. They are different shapes because they do different jobs.
What to look at when you are comparing plungers
Material comes first. This one is moulded polyvinyl chloride with a polished finish. PVC is a practical choice for a tool that lives in a damp cupboard, because it does not perish, harden or go tacky the way cheap natural rubber tends to after a year or two. It also wipes clean, which you will appreciate.
Size is worth checking against your sink. The listed dimensions are 22 cm by 11.5 cm by 24 cm, with the product measuring 11 cm deep, 12 cm wide and 24 cm high. That is compact. It fits under a sink without a fight and it is manageable in a smaller basin where a big toilet plunger would be unwieldy.
Handle design is the detail most people overlook until they are on their knees in a cupboard. A swivel handle is genuinely more useful than it sounds.
Finally, think about construction and origin. This is made in Italy by Parodi & Parodi, model 101. That is not a guarantee of anything by itself, but a named manufacturer with a part number behind it is a better sign than an unbranded cup from a bargain bin.
Using it well, step by step
Clear anything loose from the sink. Fill with a few centimetres of water. Block the overflow with a damp cloth. Lower the head at an angle so water fills underneath, then press it flat.
Now work. Ten to fifteen firm strokes, pushing and pulling with a steady rhythm, keeping the head sealed throughout. Lift it off and watch. If the water level drops, even slowly, you have broken something loose, so run the hot tap for thirty seconds to flush the remains through.
If nothing moves, repeat. Two or three sets will clear most soft blockages. If you have done five sets with a good seal and the water is still sitting there, stop. The clog is either further down the branch pipe or it is something solid, and more plunging will not reach it. At that point you are looking at opening the trap with a bucket underneath, running a drain auger, or calling someone.
Keeping it in good shape
Rinse the head under warm running water as soon as you have finished, before anything dries on it. A squirt of washing-up liquid and an old brush around the rim takes thirty seconds and means you are not handling something grim next time.
Dry the handle and store it upright, or hang it, so the head keeps its shape. Keep it out of direct sunlight and away from radiators or hot sheds, because prolonged heat and UV will eventually make PVC brittle. Do not soak it in solvents or leave caustic products sitting on it. Treated reasonably, a tool like this lasts for years.
The short version
Most blocked sinks are soft blockages of grease or hair, and pressure clears them faster and more safely than chemicals do. A double action plunger uses both the push and the pull stroke, so each cycle does twice the work of a basic cup. Get standing water in the sink, block the overflow, seal the head flat and work in steady sets of firm strokes.
This one is made in Italy from polished PVC, measures 22 cm by 11.5 cm by 24 cm, and has a swivel handle for awkward corners. Keep it under the sink and a blocked drain becomes a five-minute annoyance instead of an evening ruined.