

The complete guide
How to Choose and Use a Plunger Set for Sinks, Baths and Showers
The slow drain problem
Nobody notices a drain until it stops behaving. Water pools in the basin while you brush your teeth. The shower tray fills to your ankles halfway through a wash. The kitchen sink empties with a gurgle that sounds like it is complaining. None of this is an emergency, which is exactly why it drags on for weeks.
The cause is usually boring. Hair, soap scum, grease and food scraps stick to the inside of the pipe and narrow it, bit by bit. Water still gets through, just slower. Then one day something tips it over and the drain stops entirely, usually at the least convenient hour.
A plunger is the oldest answer to this, and it is still the first thing a plumber reaches for. It does not need power, chemicals or skill. It needs a decent seal and a bit of patience.
How a plunger actually works
People think plunging is about pushing. It is really about pulling.
When you press the cup down, you force water down the pipe towards the clog. When you pull back up, you create suction that drags the clog back towards you. That back-and-forth motion is what breaks a soft blockage apart. A single hard shove just compacts the mess further down the pipe, which is the opposite of what you want.
For this to happen at all, two conditions have to be met. First, the cup has to sit flat and sealed on the surface around the drain. Second, there has to be water over the cup, because water transmits pressure and air does not. Plunging a dry basin is close to useless.
That is also why cup size matters. A 140 mm cup on a small bathroom basin will not sit flat, so it leaks pressure at the edges. A 110 mm cup in a wide kitchen sink drain is doing less work per stroke than it could. The set gives you both, so you are matching the tool to the drain instead of making do.
What you get in this set
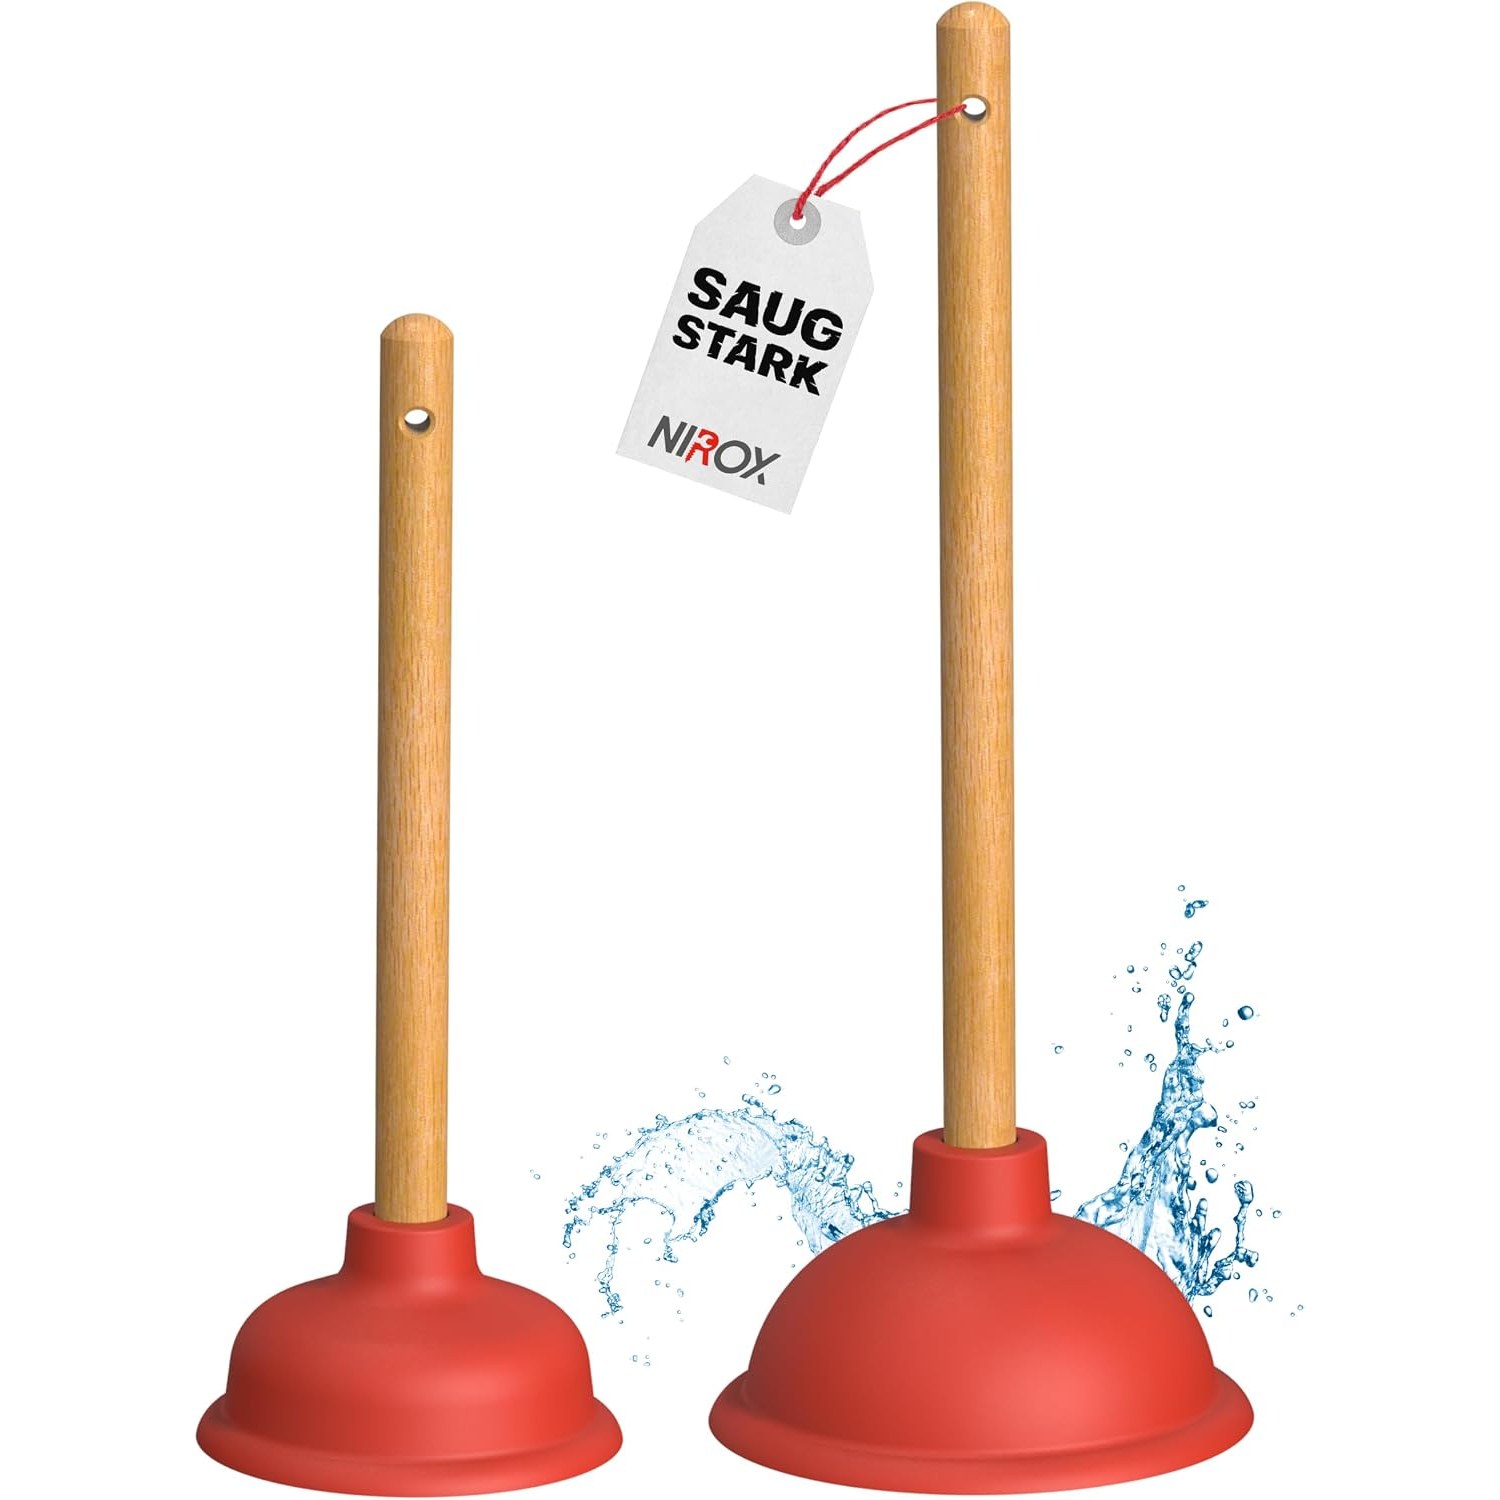
Two plungers, each with a round rubber cup and a wooden handle. The small cup is 110 mm across with a total length of 29 cm. The large cup is 140 mm across with a total length of 37.5 cm. The maker's details counts four pieces because the handles arrive separate from the cups.
Assembly is a screw thread. You hold the cup, turn the handle clockwise, and it is done. No tools. If a handle loosens after a heavy session, tighten it again by hand. The same thread lets you take the set apart for storage, which helps if your under-sink cupboard is already full.
The handles are wood. That gives a dry grip when your hands are wet, which is more useful than it sounds when you are leaning over a bath. Listed colour is red and the set weighs 207 g in total.
Which cup for which job
The 110 mm plunger is the one for bathroom basins, bidets and small bar sinks. These drains sit in a narrow bowl, and a wide cup simply cannot make contact all the way round. If you have ever wondered why plunging a basin does nothing, there is a fair chance the cup was too big for the space.
The 140 mm plunger suits bathtubs, shower trays, kitchen sinks and wider floor drains. The larger surface moves more water per stroke, so you get more force against the blockage. On a bath in particular, that extra volume makes a noticeable difference.
If you are unsure, measure the flat area around your drain opening, not the drain hole itself. The cup needs to seal on that flat surround.
The technique that makes the difference
Start by running enough water to cover the rubber cup. An inch or two over the top is plenty. This is the step most people skip and it is the one that matters most.
Next, deal with the overflow. Bathroom basins and baths almost always have a small overflow opening near the rim. If you leave it open, every push you make vents straight out of it instead of travelling down the pipe. Press a damp cloth over the hole and hold it there, or get a second pair of hands.
In a double-bowl kitchen sink, block the second drain the same way. Otherwise you are just pumping water from one bowl to the other.
Then seat the cup squarely over the drain, press down to push the air out, and work it up and down with steady, firm strokes. Fifteen to twenty seconds of rhythm beats three violent shoves. Break the seal at the end by lifting the cup off sideways, and see if the water goes. Repeat two or three times before you decide it has not worked.
If the water starts moving but is still slow, follow up with a few minutes of hot running water to flush the loosened debris right out of the system.
Why mechanical beats chemical
Caustic drain cleaners have their place, but they come with trade-offs. They are hard on older pipework and on rubber seals. They sit in the pipe if the blockage does not shift, which leaves you with a basin full of chemical water and a job that is now harder and more hazardous. They are also not something you want around if there are children or pets in the house.
A plunger has none of those problems. Nothing enters the pipe that was not already there. If it does not work, you have lost nothing but a few minutes, and the drain is no worse off than before. That is the main reason households that want a chemical free drain cleaner approach keep a plunger within reach rather than a bottle.
Hair, grease and the smell question
Different drains clog for different reasons, and it helps to know which you are dealing with.
Bathroom drains clog with hair bound together by soap scum. Plunging usually loosens the clump enough that you can lift it out with a hooked tool or a bent wire, or push it through. Lift off the shower grate first if yours comes away.
Kitchen drains clog with grease and food. Cold grease sets hard on the pipe wall. Plunging breaks the plug, but a hot water flush afterwards is what carries the softened grease away. Do this at the end, not the start.
Smells often appear before a full blockage does, because the build-up on the pipe wall holds stale material. If a drain smells but still runs, a quick plunge and a hot flush is a sensible bit of maintenance. If the smell stays, check that the U-bend under the sink still holds water, since a dried-out trap lets sewer gas up into the room.
Looking after the set
Rinse both cups under hot water after use and wipe them dry. A squirt of washing-up liquid helps after a greasy kitchen job. Keep the wooden handles out of standing water and let them dry properly if they get soaked.
Store the set somewhere dry and out of direct sunlight. Rubber lasts far longer that way. Avoid stacking heavy things on top of the cups, since a deformed cup will not seal well. If space is tight, unscrew the handles and lay everything flat.
When to stop and call someone
A plunger handles soft blockages near the fixture. It will not fix a collapsed pipe, tree roots in the main line, or a solid object lodged deep in the system.
If several drains in the house back up at once, that points to a problem further down the line, not at the basin. If plunging produces no change after three or four honest attempts, stop. Repeated hard plunging on a stubborn clog is more likely to stress a joint than to clear anything.
The short version
Two cups, two sizes, two jobs. Use the 110 mm on basins and bidets, the 140 mm on baths, showers and kitchen sinks. Cover the cup with water, block the overflow, and work with a steady rhythm rather than force.
Done properly, a plunger clears most household blockages in under a minute and costs nothing to use again. Keeping a sink and bath plunger set in the cupboard turns a slow drain from a weekend problem into a two-minute fix.