
The complete guide
How to Choose and Fit an Extendible Drain Hose Set
The problem nobody mentions until moving day
You buy a washing machine. It arrives, the delivery crew sets it down, and you discover the drain hose is about 20cm shorter than the distance to the standpipe. Or the dishwasher will slot in neatly under the bench, except the outlet is at the wrong end of the run. Suddenly a straightforward installation turns into an afternoon of shoving an appliance around and hoping something reaches.
Manufacturers fit a short drain hose because it covers the most common layout and keeps costs down. It is not a flaw, it is just a generic answer to a problem that is different in every home. The fix is not a new machine. It is a drain hose extension kit that gives you the length you actually need, with a joint that holds.
What this set does
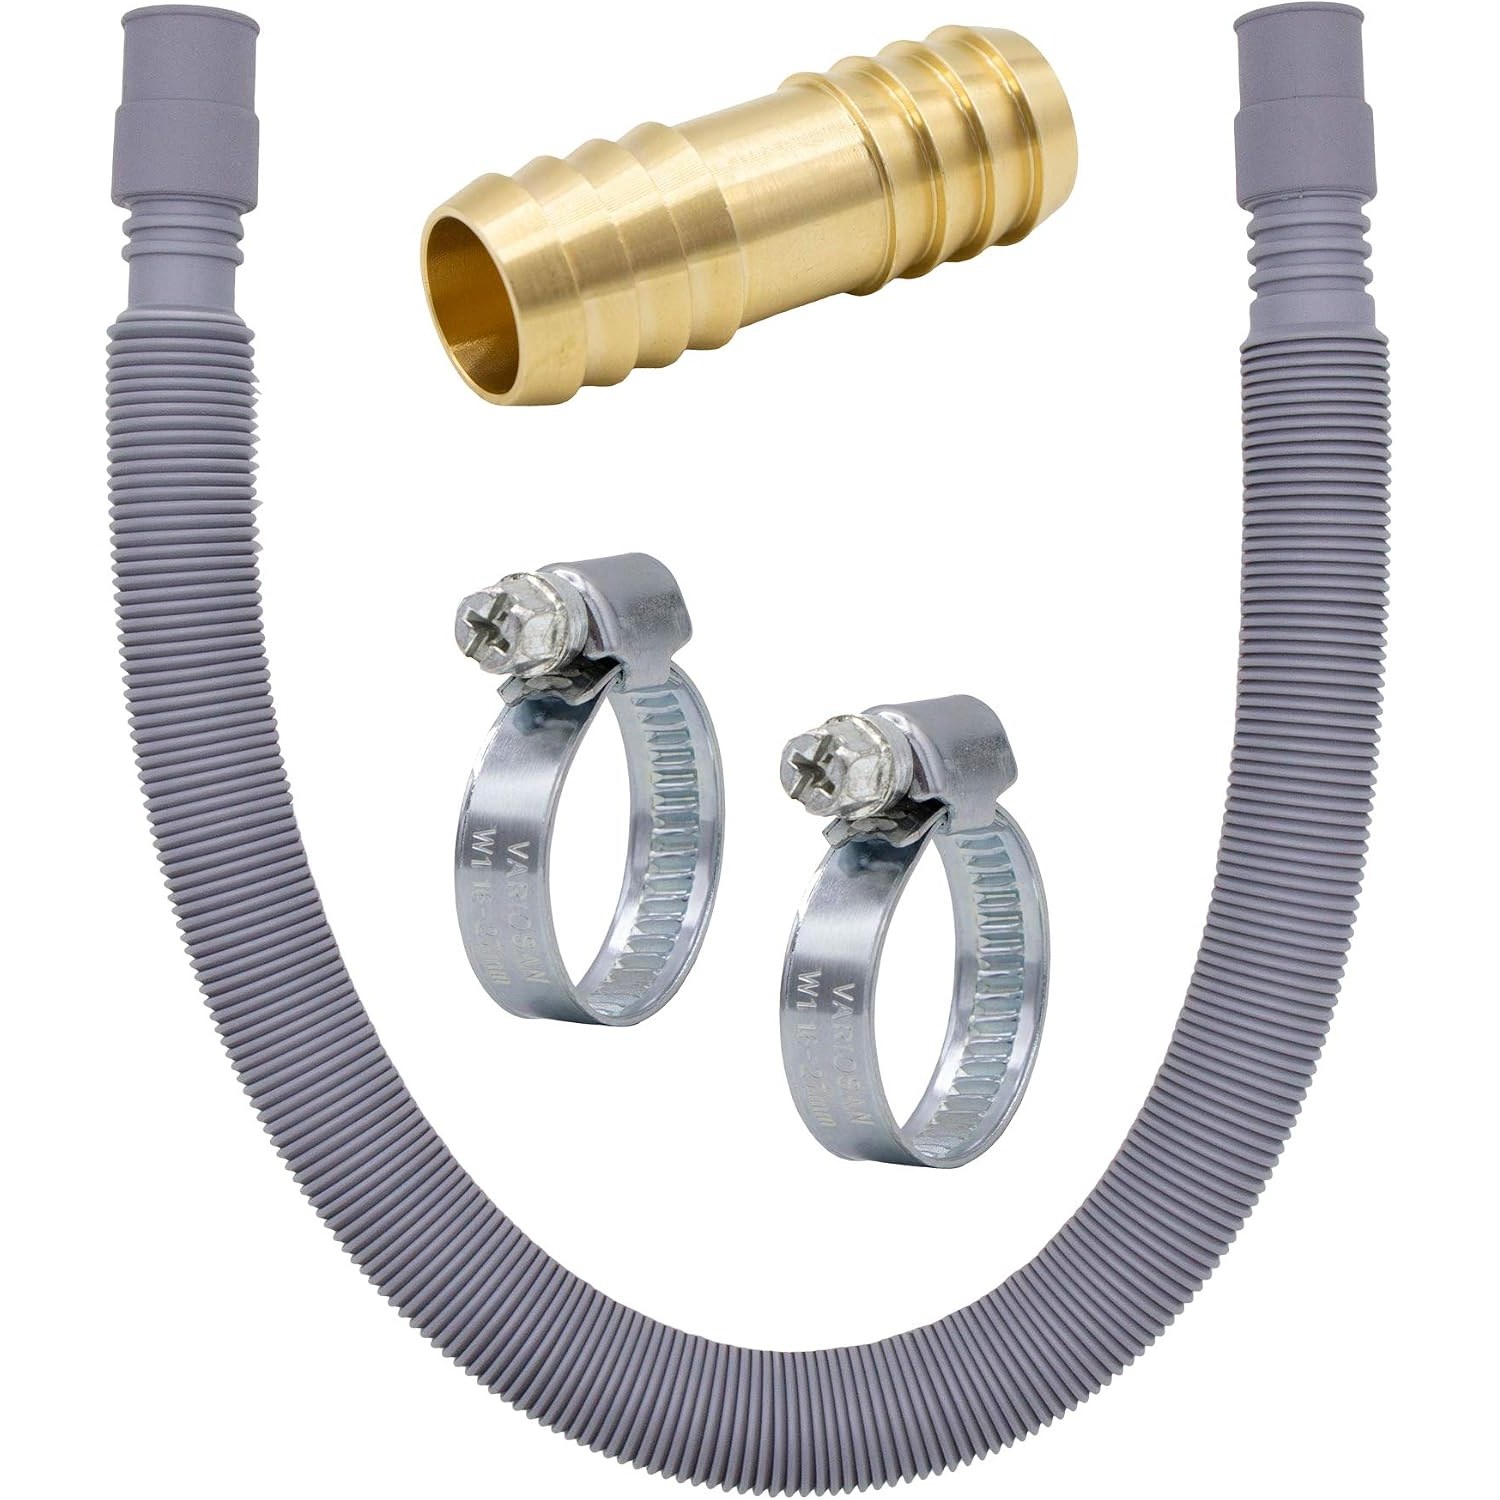
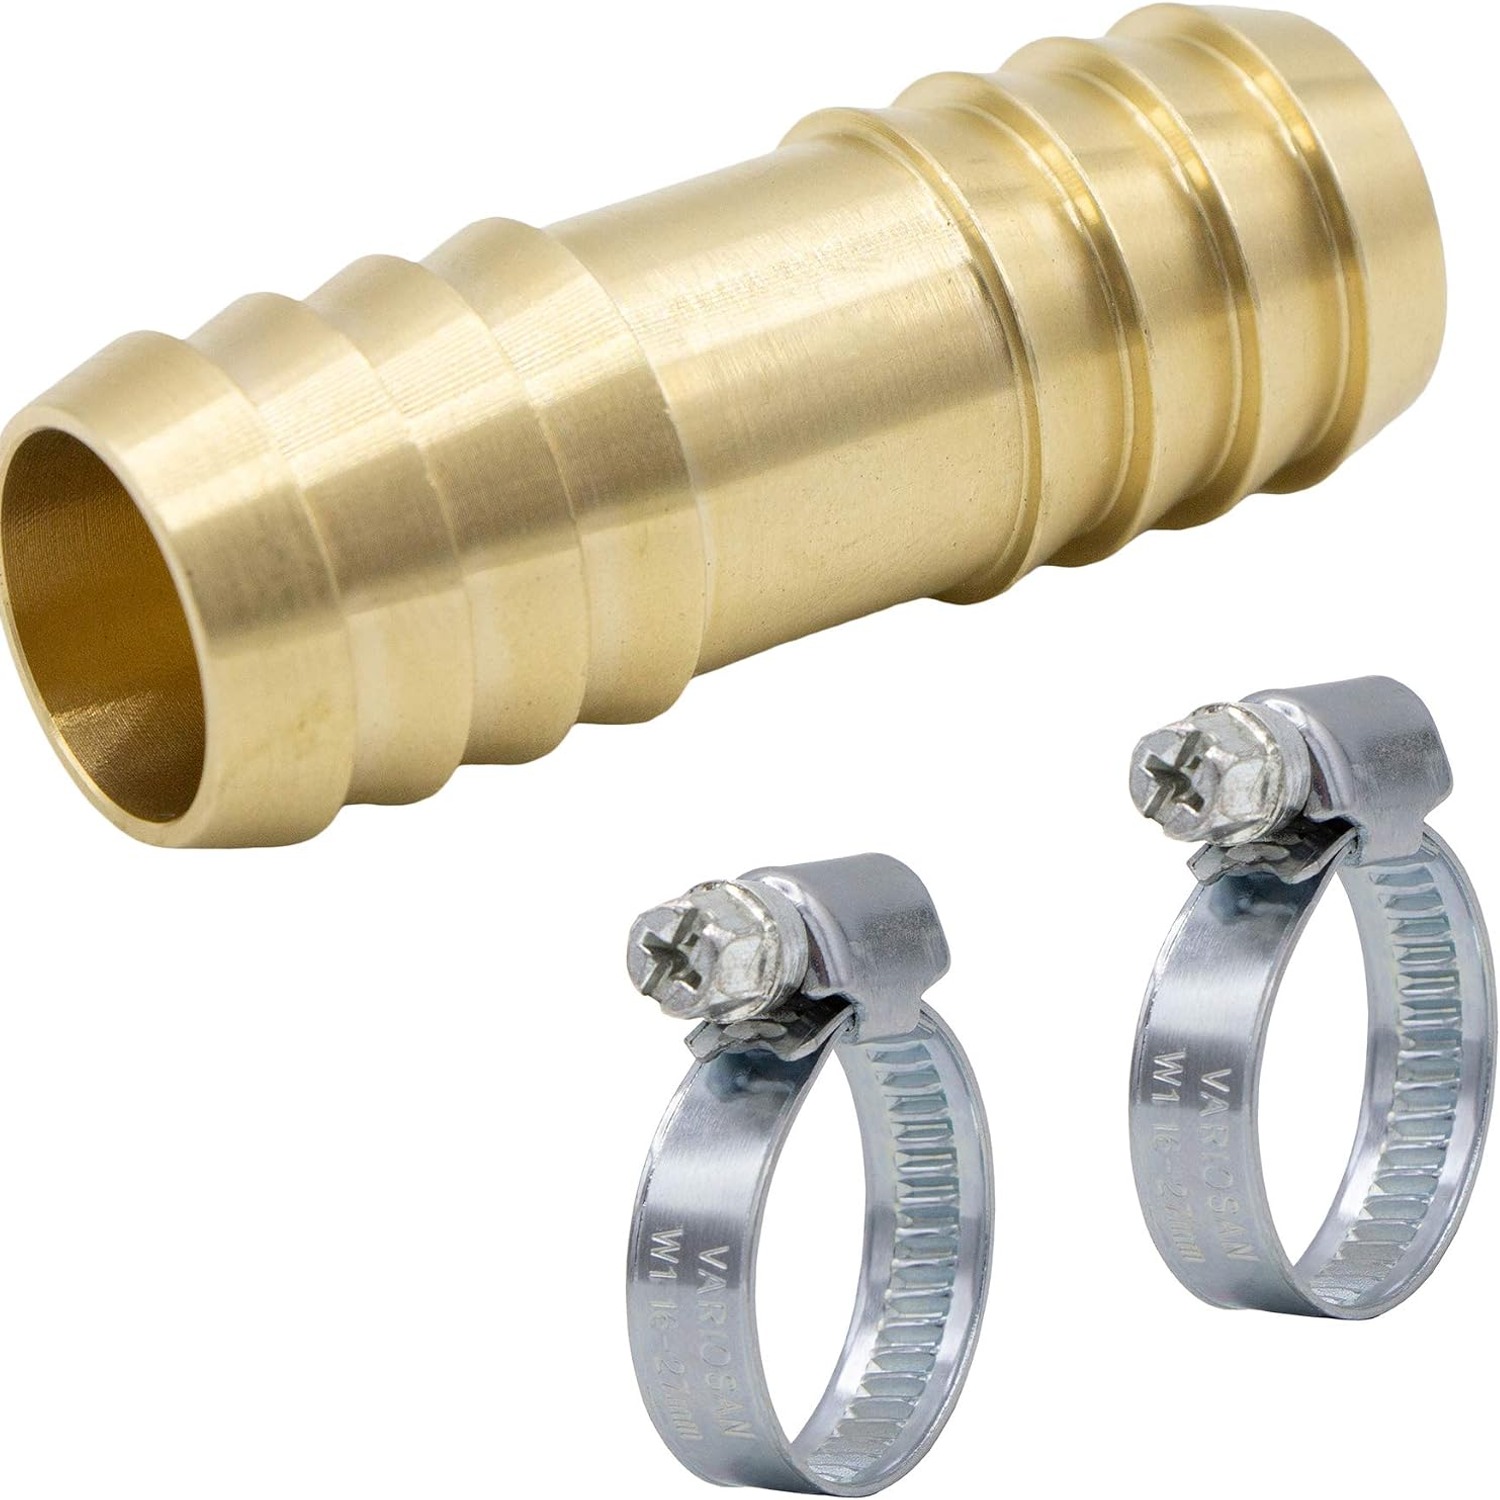
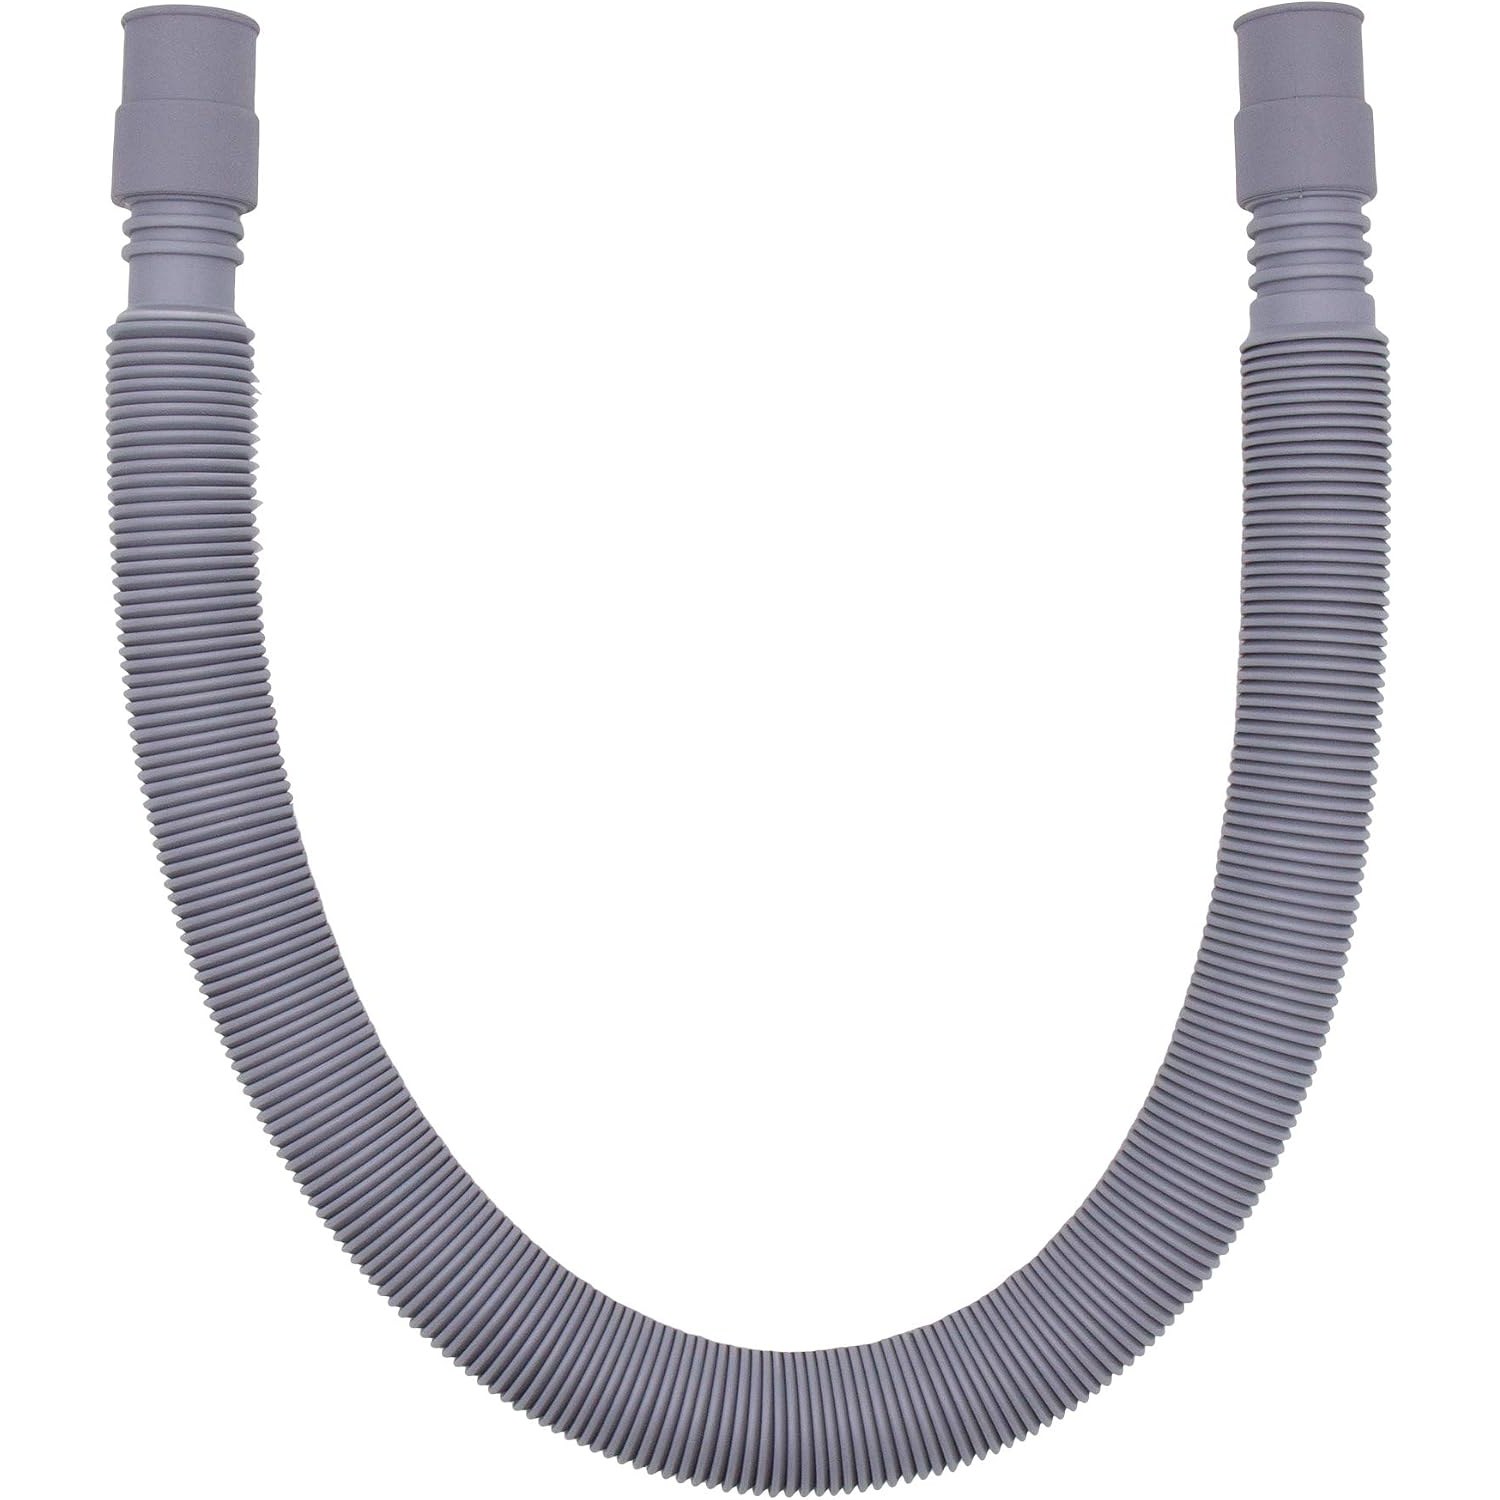
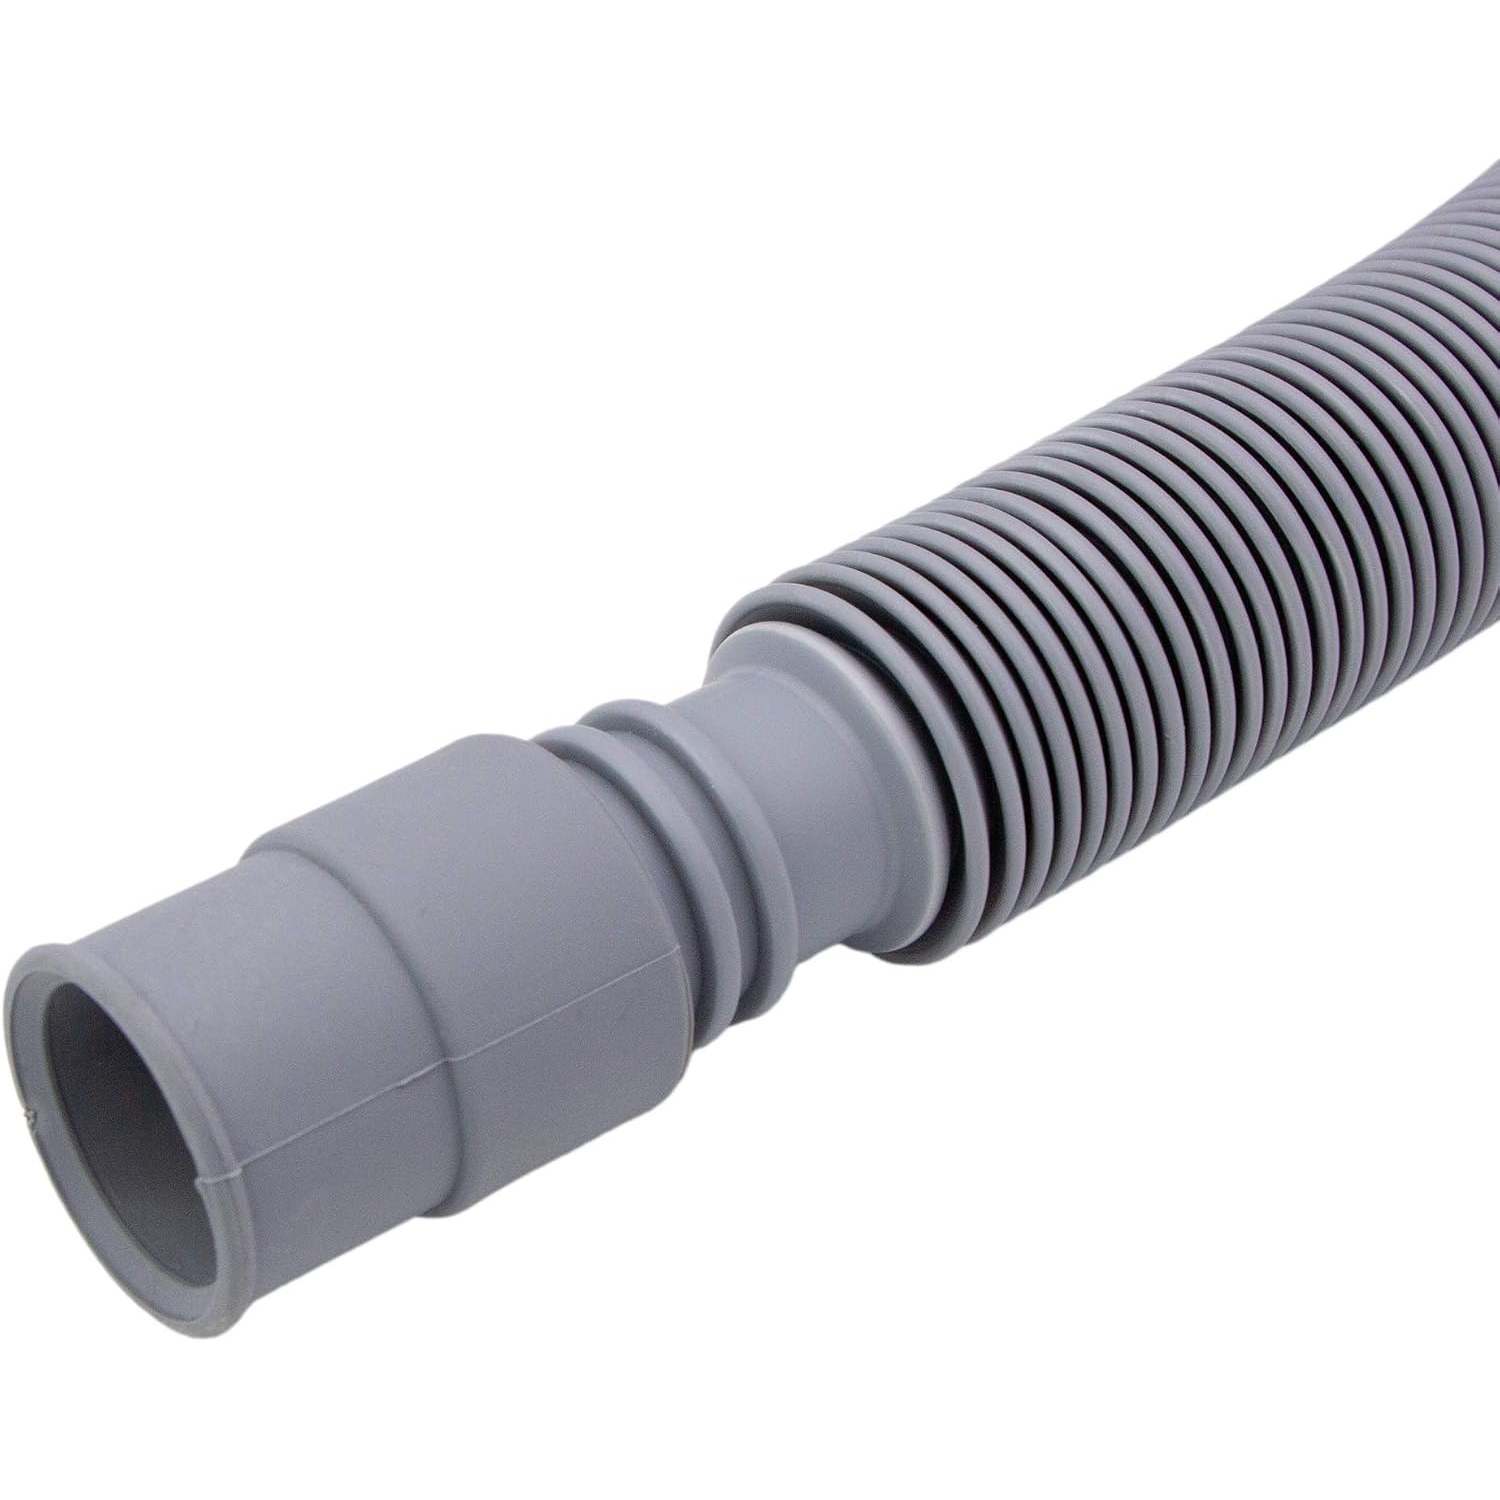
This is an extension, not a replacement. The hose extends from 60cm to 200cm and joins onto the drain hose already fitted to your washer or dishwasher. A solid brass hose connector sits between the two, and two hose clamps lock each side of that connector in place.
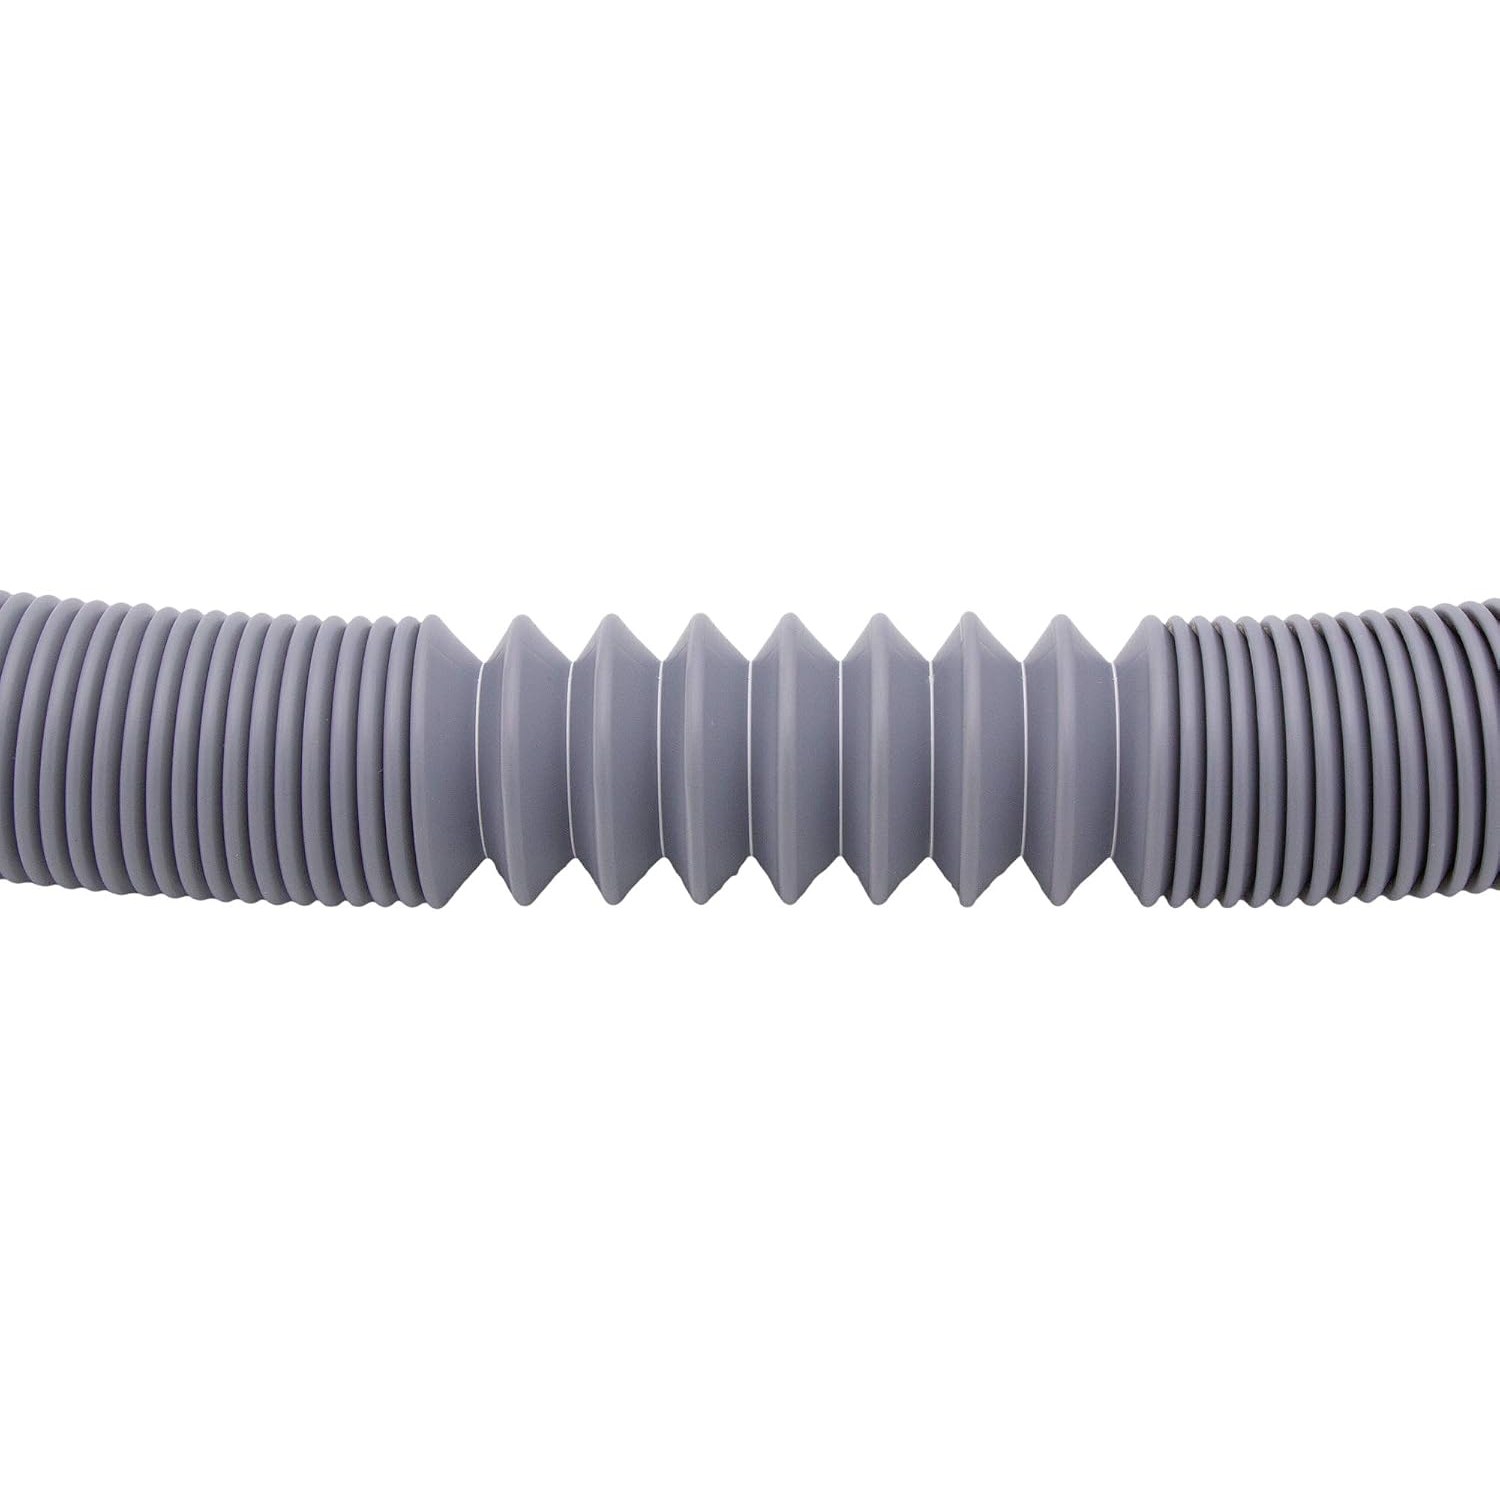
The extendible design matters more than a plain fixed-length hose. If you only need 80cm, you pull out 80cm and the rest stays compressed. With a fixed 2 metre hose you would have 120cm of surplus to coil up behind the machine, and loose coils create low spots where water sits between cycles. That standing water is where smells start.
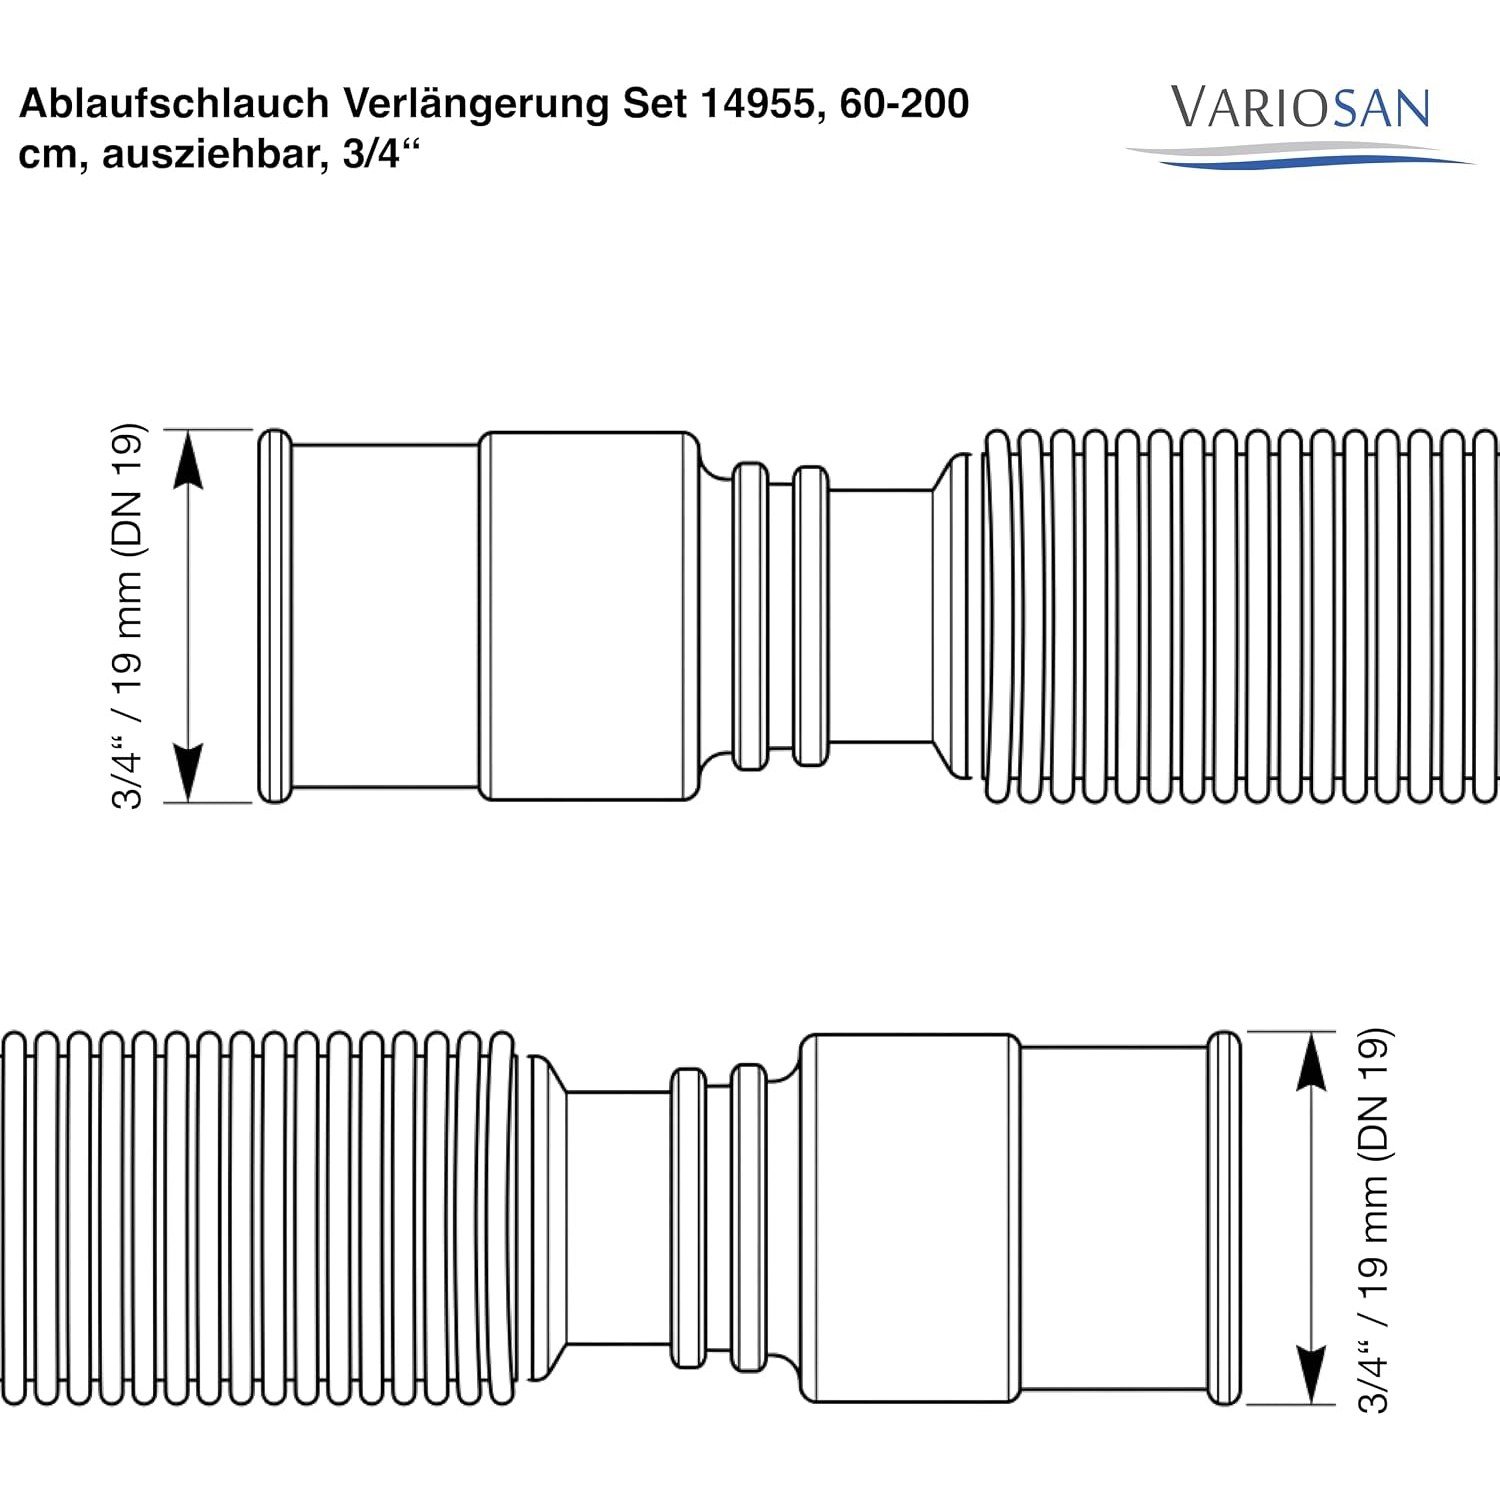
Connections are straight to straight at 3/4 inch, listed as DN 19. That is the standard size across most domestic washers and dishwashers, which is why a single kit covers so many machines. The outside diameter is 0.75 inches and the nominal wall thickness is 1.5 mm, so the hose has enough body to hold a sweeping curve without flattening.
Why the brass connector matters
If you have ever had an extension joint start weeping a few months in, the connector was probably the reason. Plastic joiners feel fine on day one. Then the clamp pressure, the heat of a wash cycle, and the slow pull of a hose under tension work on them, and the barbs lose their grip just enough for water to find a path.
Brass does not do that. It keeps its shape under a tightened clamp and does not soften when hot water passes through. For a part that sits behind an appliance where you will never look at it, that resistance to slow deformation is worth a lot. Anyone shopping for the best appliance drain hose kit should check what the joiner is made of before anything else.
The two clamps included finish the job. One per side, tightened evenly, and the joint is mechanical rather than relying on friction alone.
Heat and pressure, and why the numbers are on the box
The maximum temperature rating here is 95°C. That covers hot wash programmes and dishwasher cycles, which push water out considerably hotter than people assume. A hose not rated for that can go soft around the clamp, lose its round shape, and start to seep.
The maximum pressure rating is 10 bar. A drain line never sees anything close to that in normal use, since the pump is pushing water out rather than holding mains pressure. The figure is simply headroom, and a sign the hose was built to a spec rather than to a price.
Who this suits
It suits anyone whose appliance is a little too far from the drain. That covers a lot of situations. A laundry where the machine has to shift along the wall to make room for a dryer. A kitchen where the dishwasher sits two cupboards from the sink waste. A garage or outbuilding setup where the standpipe is on the other side of a doorway.
It also suits people replacing an old extension that has gone brittle. Drain hoses do age. They stiffen, they craze around the bends, and eventually a crack appears at the point where the hose was always folded. Swapping it out before that happens is cheap insurance.
It is less suited to very long runs. If you need five or six metres between machine and drain, you are into territory where the appliance pump itself becomes the limiting factor. Check your machine's manual for its maximum drain length and height before you commit to a layout.
How to choose and measure
Start with your existing hose end. Look at the fitting on the appliance side and confirm it is the standard 3/4 inch straight type. If it is a moulded elbow with an unusual profile, measure carefully, because not every machine uses the common size.
Then measure the gap you need to close. Pull the appliance out to where you want it to live and measure from the end of the current hose to the standpipe or waste connection. Add a bit of slack, maybe 15 to 20cm, so the hose is not stretched tight. A hose under tension pulls on its own joints.
Finally, think about the route. The hose should rise to the drain point and then stay there, not dip down and climb again. Each dip holds water. A clean, gently rising run is quieter, drains faster, and smells better.
Fitting it without drama
Turn off the machine and pull it out far enough to work comfortably. Have a towel ready, since there is usually some water left in the hose.
Slide one clamp onto the end of the existing hose and one onto the end of the extension, far enough back that they are out of the way. Push the brass connector firmly into one hose until it is fully seated, then push the other hose onto the opposite end. Do not leave the barbs half exposed. Slide the clamps over the joint so they sit above where the connector sits inside, then tighten them evenly. Firm is enough. You are not trying to crush the hose.
Route the hose to the drain, keeping bends gentle. Secure the end at the standpipe so it cannot work its way out during a spin cycle, which is when the pump is at its most energetic.
Then run a short cycle and watch. Put a dry tissue under the joint if you want to be thorough. If it comes out dry at the end, you are done. If there is any damp, snug the clamps a touch more and test again.
Looking after it
Drain hoses are low maintenance, but not no maintenance. Every few months, feel around the joint and the two ends for damp. Check the clamps have not loosened as the hose settled into its final position. Hoses do move slightly in the first weeks after fitting.
Keep the run free of tight folds. If you ever pull the machine out for cleaning, be careful not to drag the hose into a sharp bend against a wall or a cabinet edge. That single repeated crease is where most hoses eventually fail.
If you remove the hose for any reason, flush it with clean water and let it drain fully before storing. Detergent residue and lint build up inside any laundry drain line over time. Store it loosely coiled rather than folded.
The short version
A washing machine that will not quite reach the drain is an annoying problem with a cheap solution. This set extends from 60cm to 200cm, uses a solid brass connector instead of plastic, includes two clamps, and is rated to 95°C and 10 bar. Connections are straight to straight 3/4 inch (DN 19), the common size on standard domestic machines.
Measure your existing hose end, measure the gap, allow a little slack, and keep the run gently rising with no dips. Tighten both clamps evenly and test with a short cycle before pushing the machine back. Done properly, it is the kind of fix you fit once and never think about again.